

Last updated October 31, 2026
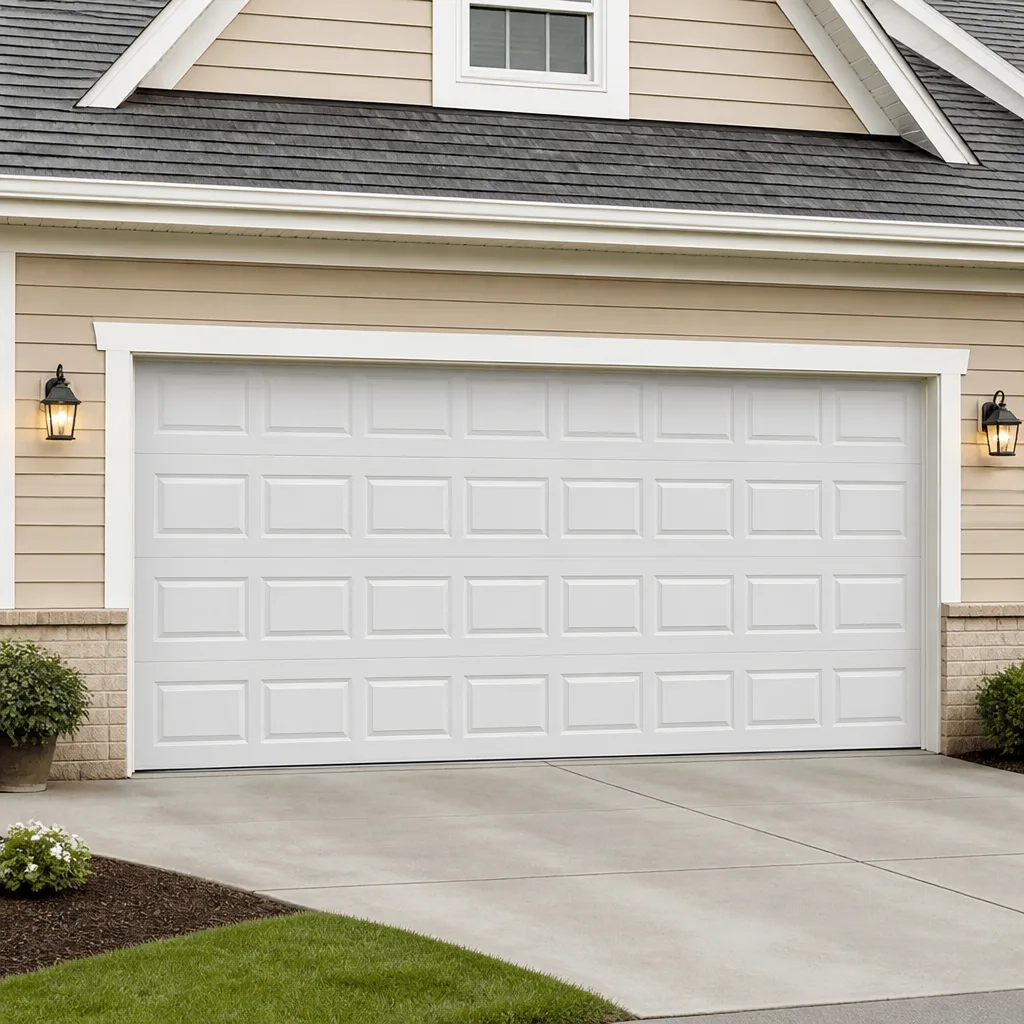 Raised-panel steel
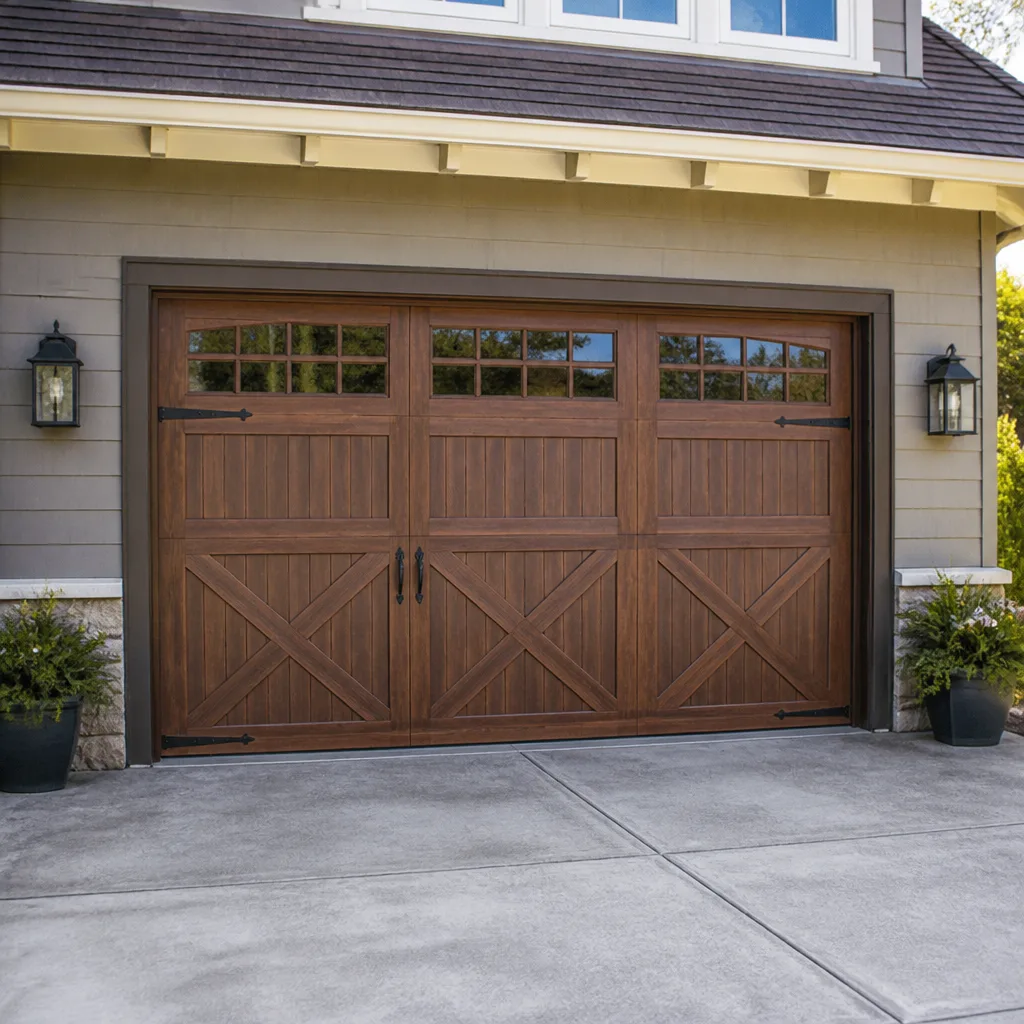 Carriage house
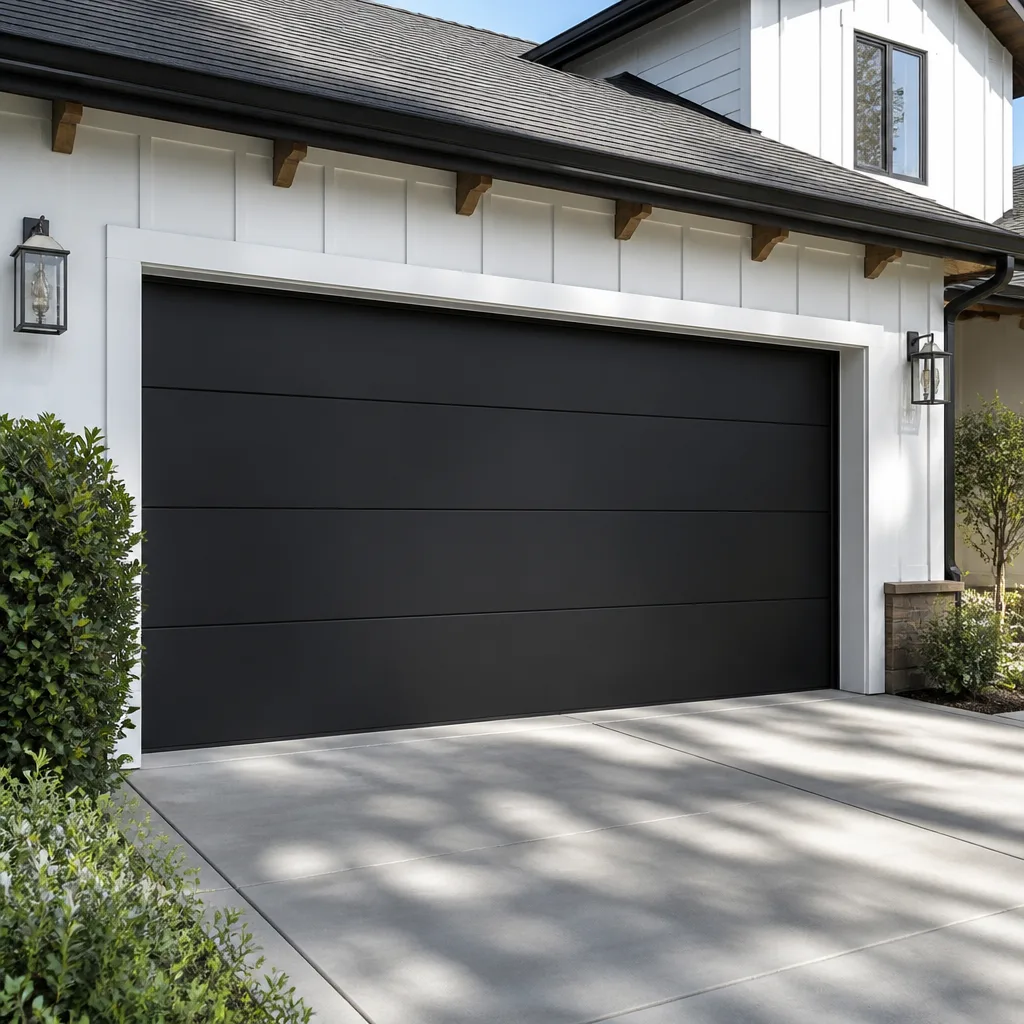 Modern flush
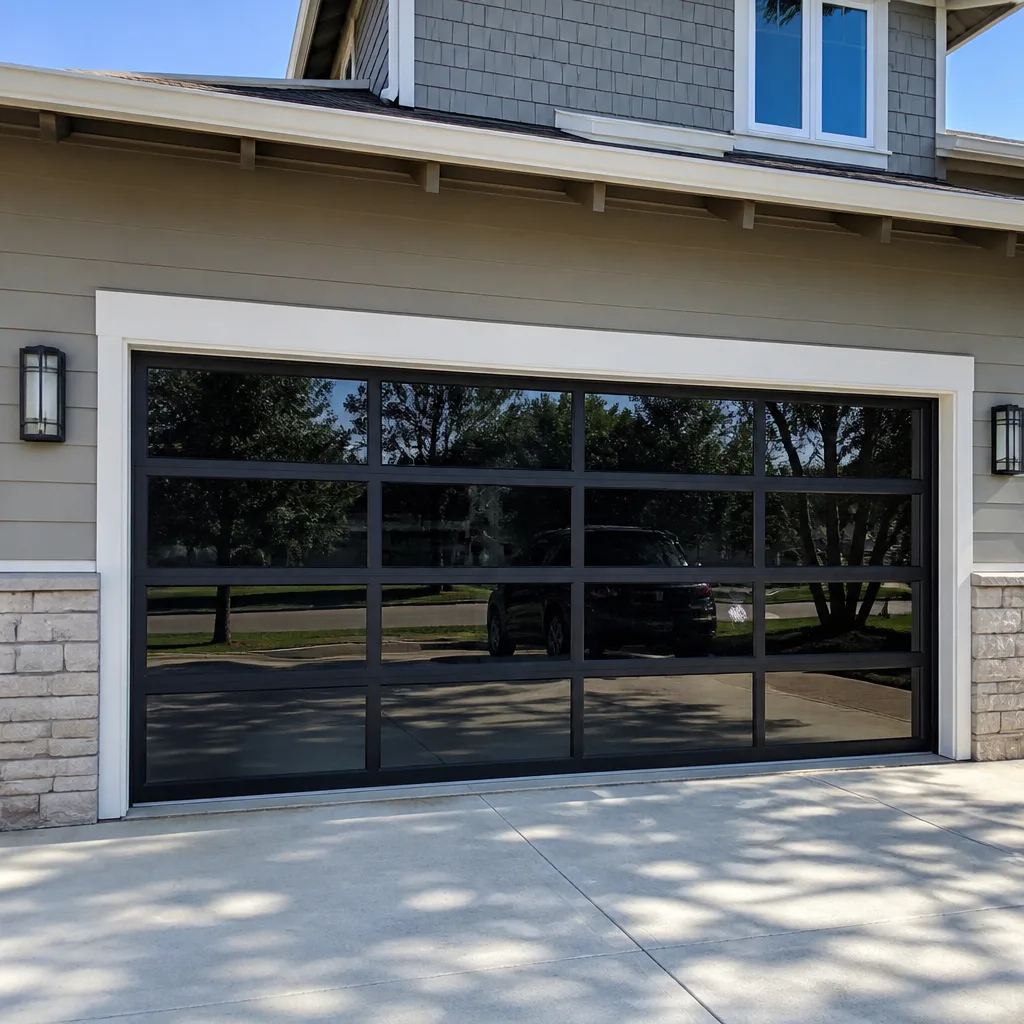 Full-view glass
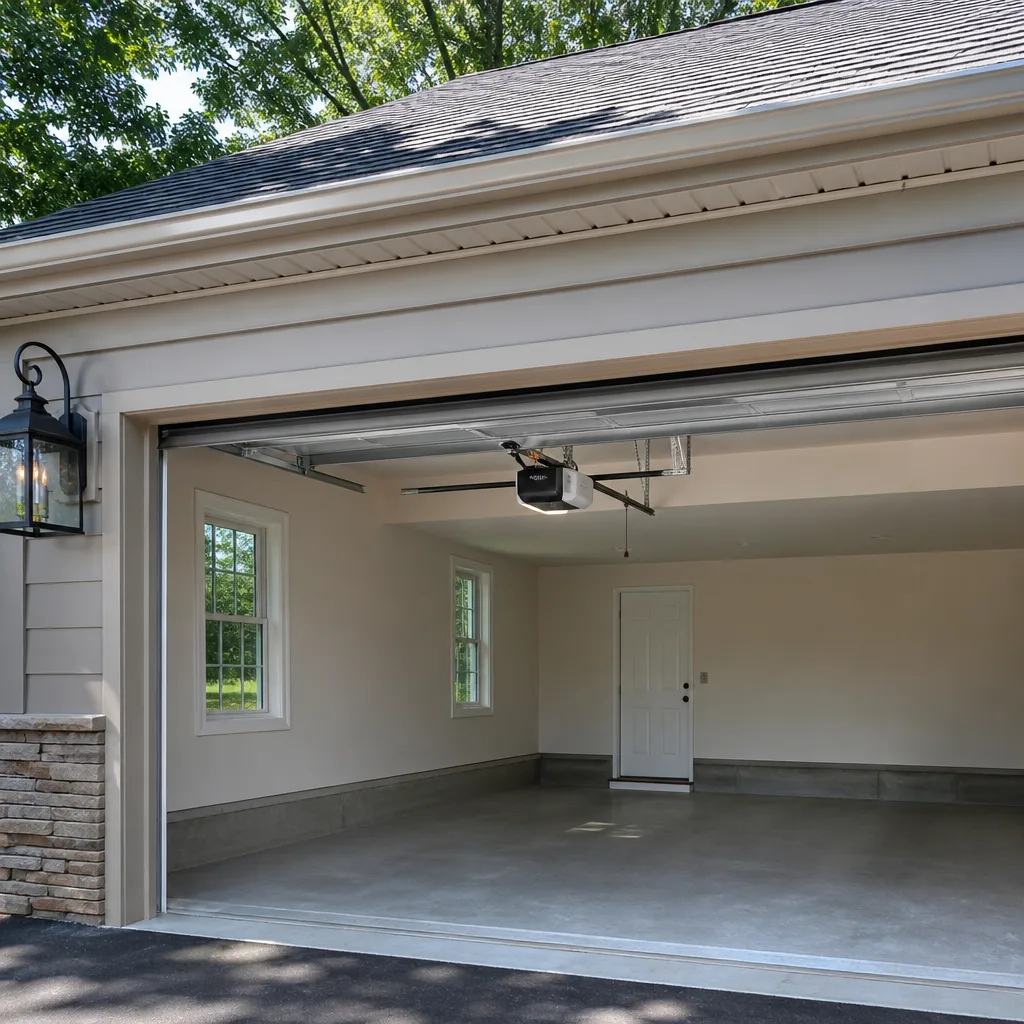 LiftMaster openers
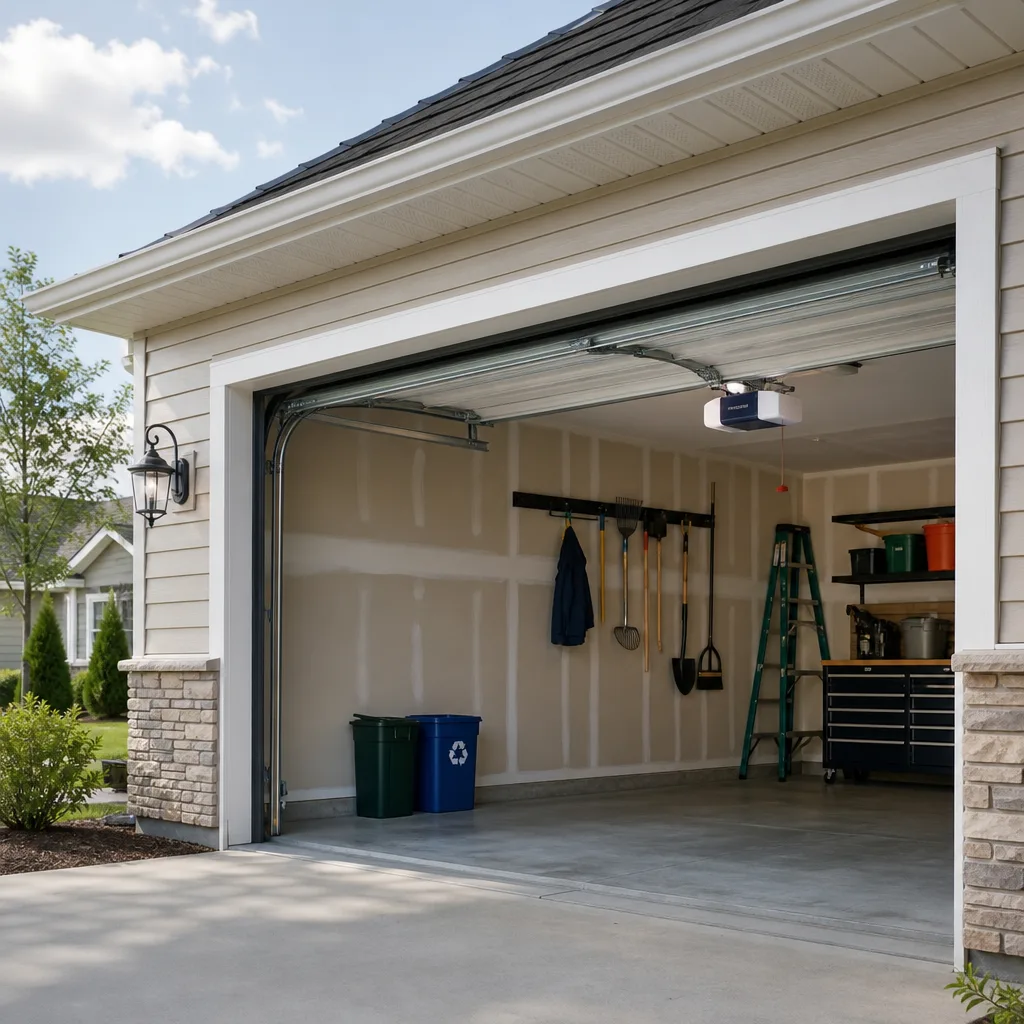 Chamberlain openers
Full 25-point door and opener safety check with every visit - springs, cables, rollers, tracks, and your LiftMaster or Chamberlain opener included
You get a price before we start. It does not change when the truck arrives.
Get your free estimateGarage Door Repair Troubleshooting: Common Problems and How to Fix Them
Most troubleshooting guides tell you to “check your springs” for almost every problem, which is about as useful as a doctor telling every patient to check their heart. It’s technically connected to everything, but it rarely gets you to the actual fix. We’ve spent years diagnosing garage doors across Elk Grove, from newer homes in the Laguna area to older builds near Old Town, and the pattern is consistent: the symptom a door shows is a precise diagnostic signal if you know how to read it. Grinding, bouncing, one side sagging, an opener that reverses mid-travel: each one points to a specific mechanical or electrical cause. This guide maps symptom to cause, shows you how to isolate whether the problem is in the door, the springs, or the opener in under five minutes, and tells you exactly when to put the tools down and call a specialist. If you’d rather skip the detective work, Garage Door Repair in Elk Grove is what we do every day.
Styles & brands we work with
Quick Answer
Garage door troubleshooting starts with identifying the symptom: a door that reverses on the way down is usually a force-sensitivity or sensor issue, a door that stops halfway is typically a broken spring or a limit-setting problem, and a door that shakes or bounces on descent points to worn rollers, loose hardware, or a track alignment issue. The fastest way to isolate the fault is a balance test using the manual release cord: if the door won’t stay put halfway open under its own weight, the springs are failing regardless of what the opener is doing. If the door balances fine by hand, the issue is almost certainly in the opener’s settings, sensors, or wiring.
Table of Contents
- The Symptom-to-Cause Map: What Your Door Is Actually Telling You
- The 5-Minute Isolation Test: Door, Springs, or Opener?
- Limit Switch vs. Force Sensitivity: Why They Look Identical and Aren’t
- Safety Sensor Problems and the No-Tools Test Sequence
- Grinding, Scraping, and Squealing: Diagnosing Track and Roller Noise
- Bouncing, Shaking, and One-Side Sag: Mechanical Balance Failures
- The “Fixes” That Make It Worse: Lubricating vs. Realigning, and Other Traps
- Common Mistakes to Avoid
- When to Call a Professional
- Frequently Asked Questions
- The Bottom Line
The Symptom-to-Cause Map: What Your Door Is Actually Telling You
Before you touch anything, watch the door run one full cycle from outside. Stand at eye level with the track and listen. The door’s behavior during open, at the halfway point, and during descent tells you more than any checklist. Here is the map we use when we roll up to a house in Elk Grove, whether it’s a Clopay door in a 1990s subdivision or a newer Amarr installation near the Sheldon Corridor. For professional help, see our Garage Door Repair services.
Door reverses immediately after hitting the floor, or reverses a few inches into descent: this is either the close-force setting being too sensitive, or an obstruction signal from the safety sensors. Modern LiftMaster and Chamberlain openers interpret resistance as “something is under the door” and reverse by design. If you’ve ruled out an actual obstruction, the opener’s force margin is too tight for the door’s current weight and friction profile, which changes as springs age and rollers wear.
Door stops halfway up and goes back down, or stops halfway down and sits there: a broken torsion spring is the leading cause, because the opener motor is now trying to lift the full weight of the door alone. When a spring snaps, most openers sense the load spike and halt. Limit-switch drift is the second possibility, especially if the door stops consistently at the same wrong point and you haven’t heard any loud noise from the spring area.
Door opens but shakes violently during the first third of travel: the panels are binding against the track, usually from loose mounting brackets on the wall or a track that’s shifted out of vertical alignment. The motor keeps pulling while the door fights friction, and you see and feel that fight as vibration. This is a mechanical issue, not an opener issue, even though the opener gets blamed.
Door descends with a pronounced bounce or jerky rhythm: worn rollers with flat spots, a bent track section, or stretched cables on one side. The door is literally falling in small increments rather than rolling smoothly. This is the symptom that most often gets misread as a “spring problem,” because people assume springs control descent. They partly do, but a balanced door with good rollers descends smoothly even with tired springs. Jerky descent is almost always a track, roller, or cable geometry problem.
One side of the door hangs lower than the other when open: cable tension imbalance. The door is a single rigid panel assembly, so if one side sags, one cable has more slack than the other. On torsion-spring doors this usually means a cable has slipped on the drum. On extension-spring doors it means one spring has stretched more than the other or a safety cable has bound up. This is not a cosmetic issue; it accelerates track wear and stresses the motor every single cycle.
The 5-Minute Isolation Test: Door, Springs, or Opener?
Every diagnosis should start here. The manual release cord, the red handle hanging from the opener rail, lets you disconnect the door from the motor and test the door as a standalone mechanical system. Here’s the exact sequence that tells you where the fault lives. We recommend doing this test any time the door misbehaves, before adjusting any setting or replacing any part.
- Close the door fully. Reach up and pull the manual release cord straight down. You’ll hear a click as the trolley disengages from the carriage. The door is now free of the opener.
- Manually lift the door from the outside handle or the bottom edge. It should rise smoothly with roughly 10 to 15 pounds of effort. More than that means friction in the tracks, failing springs, or a bent panel.
- Raise the door to the halfway point and let go. A properly balanced door stays put. If it slams down, the springs are weak or broken, and the opener has been doing all the heavy lifting. If it flies up, the springs are over-tensioned, which is rare and usually follows a DIY adjustment gone wrong.
- Lower the door by hand and feel for rough spots. Grinding, clicking, or hesitation at specific points points to roller or track issues. A smooth but heavy door points to spring problems.
- Reconnect the trolley: pull the release cord down and back toward the motor until the trolley clicks back onto the carriage, then run the opener once to confirm re-engagement.
If the door passes the balance test but misbehaves when the opener runs it, the problem is in the opener, the sensors, or the limit settings. If the door fails the balance test, no opener adjustment will make it run correctly. This is the single most useful fork in the diagnostic road, and it saves you from replacing openers that aren’t bad or adjusting springs that aren’t broken.
Limit Switch vs. Force Sensitivity: Why They Look Identical and Aren’t
Two completely different opener settings produce the same visible symptom, and mixing them up sends homeowners down long, expensive repair paths. This is the most common misdiagnosis we correct on service calls across Elk Grove, and it comes up on every opener we service, from older Craftsman chain-drives to newer Genie belt drives.
Limit switches tell the opener where the door’s full-open and full-closed positions are. When limit settings drift or get reprogrammed by a power surge, the opener thinks the door has traveled farther than it actually has. The motor shuts off at the wrong point: the door stops six inches short of the floor, or reverses at the top because the opener keeps pushing after the door has already hit the stop bolts.
Force sensitivity is an entirely different mechanism. It’s the opener’s resistance threshold: how much pushing or pulling force the motor will apply before it decides something is wrong and reverses. If the setting is too low, the door reverses on the way down because the opener interprets normal door weight as an obstruction. If it’s too high, the opener will keep pushing even when the door is binding on the track, which risks panel damage or a damaged gear in the motor.
Here’s how to tell them apart without opening the opener’s wiring panel. A limit problem is positional: the door always stops or reverses at the same wrong point, and the behavior changes if you reprogram the same travel distance. A force problem is conditional: the door behaves differently depending on temperature (cold makes the metal stiffer), how recently the rollers were lubricated, or whether there’s debris in the track. Limit issues are about where. Force issues are about how hard. If the door reverses at different points on different days, it’s almost certainly force sensitivity, not limits.
Adjusting force settings is a normal part of opener setup, but adjusting them to mask a failing spring is dangerous. When a torsion spring loses tension, the door gets heavier, the opener works harder, and raising the force threshold just tells the motor to push through it. The door “works” for a few weeks, then the spring snaps completely or the opener’s gear strips. We see this on all eight of the major brands we service, and the fix is always the same: address the spring, then reset the force setting to spec.
Safety Sensor Problems and the No-Tools Test Sequence
Photo-eye sensors sit about six inches off the floor on either side of the door opening. They project an invisible beam across the doorway; if anything breaks that beam while the door is closing, the opener reverses. When a sensor malfunctions, the door refuses to close at all, or reverses immediately every time. Here’s the exact sequence to test whether the problem is electrical or simply alignment.
- Check the sensor LED indicators first. Most LiftMaster, Chamberlain, and Genie openers use a green or amber light for the sending eye and a green light for the receiving eye. A solid light means power is present and the beam is aligned. A blinking or off light tells you the sensor isn’t seeing its partner at all.
- Wipe both sensor lenses with a dry cloth. Elk Grove summers kick up fine dust and pollen, and a hazy lens can scatter the beam enough to trigger false obstructions. This simple step resolves more sensor calls than any other single fix.
- Look for a wiring problem: a sconce, a ladder, or a stiff broom handle that’s knocked one sensor slightly askew. Both eyes must point directly at each other. Even a 5-degree angle change is enough to break the beam.
- Gently squeeze the sensor bracket back toward the door frame if it’s been hit or tugged. The bracket itself bends, and that’s a mechanical problem, not an electrical one. Don’t over-correct; you’re looking for parallel faces.
- If the lights are on and the door still reverses, pull the manual release and close the door by hand. A door that closes normally by hand but reverses under power points to either a failing logic board or a wiring harness that’s lost ground. That’s a call for a professional diagnosis, not a DIY wiring project.
Some homeowners assume dark-colored sensors or sensors mounted at an angle are fine because “they’ve always worked that way.” They worked until vibration moved them a fraction of an inch, and then they didn’t. Sensor alignment has no margin for error, and we’ve yet to find a home in Elk Grove where the garage floor has stayed perfectly level for a decade. Concrete shifts. Brackets drift. The test costs nothing and takes two minutes.
Grinding, Scraping, and Squealing: Diagnosing Track and Roller Noise
All garage doors make some noise, but a grinding or scraping sound that follows the door’s movement is a specific failure signal. It means metal is contacting metal where it shouldn’t be, and the longer it runs, the more expensive the repair becomes. Here’s how to identify what the sound is actually telling you.
A metallic scraping sound that speeds up and slows down with the door, and seems to come from the side tracks, usually means the track is too tight against the roller. The roller can’t spin freely and instead slides along the track face. This happens when a track bracket gets knocked loose and the track develops a pinch point. The fix is realigning the track, not lubricating it. Grease in a binding track just makes the slide quieter for a day while the wear continues underneath.
A sharp squeal from one roller, present every cycle but worse on descent, means the roller bearing is failing. Nylon rollers wear down over years, and steel rollers can seize entirely. Once one roller is gone, the door’s weight distribution shifts and the other rollers start taking uneven load. It’s a cascade: one bad roller becomes four within a season if ignored.
A low grinding or rattling from the center of the door, most noticeable at the very beginning and end of travel, points to the opener’s internal gear. Chain-drive openers wear their sprockets; belt-drive openers slip their belts or wear the motor mounts. If the grinding is rhythmic and tied to the opener’s speed rather than the door’s position, the opener is the source, not the door.
In our experience on doors across Elk Grove, track noise is over-lubricated and under-aligned by a margin of about five to one. Homeowners reach for the spray can because it’s quick and visible. The problem is that a track that’s binding needs the bracket moved back into position, and if the roller is already flat-spotted, no amount of lubricant brings it back. Lubricate rollers and hinges lightly every six months, keep the track itself dry, and realign when there’s a pinch point.
Bouncing, Shaking, and One-Side Sag: Mechanical Balance Failures
A garage door is a 150-to-350-pound panel assembly riding on four to eight rollers, suspended by springs and guided by two tracks. When any one of those support elements degrades, the door’s weight stops moving as a unit. The result is bounce, shake, or a visible tilt. These are never opener problems, though the opener gets blamed by default.
Bouncing during descent is almost always a roller or track geometry issue. A worn roller with a flat spot catches on the track and releases in a small leap. A bent track section creates a similar catch-and-release. A door with stretched cables on one side drops unevenly, with a rocking motion from left to right. The opener is just applying constant force; it can’t smooth out a door that’s lurching through a damaged track.
One side sagging when the door is open is a cable or spring imbalance. The torsion spring, cable drums, and cables form a closed loop. If one cable slips on the drum, that side of the door loses lift force and hangs low. If one extension spring stretches or snaps, the same thing happens but worse. This is a repair that’s actively getting more expensive every cycle the door runs, because the track on the sagging side is taking lateral load it was never designed to take.
Shaking during the first third of opening, before the panels reach the horizontal track, means the vertical tracks are loose or out of plane. The door transitions from vertical to horizontal travel, and if the two tracks aren’t parallel through that transition, the panels fight each other. You’ll see the track brackets flexing, and you may hear a rhythmic banging as the roller flanges hit the track edges.
Here’s the diagnostic shortcut: run the door with the opener, then run it manually via the release cord. If the bounce or shake is present in manual operation, the problem is purely mechanical. If it’s smooth by hand and only shakes under power, check the opener’s mounting bracket and rail alignment. That distinction alone saves hours of chasing the wrong component. We run this test on every door we service, including every Wayne Dalton and Raynor unit that comes across our schedule, because the same symptom hides different causes across brands. You can also find How to Hire a Garage Door Contractor in Elk Grove: A Step-by-Step Guide if you need expert assistance.
The “Fixes” That Make It Worse: Lubricating vs. Realigning, and Other Traps
Every homeowner with a squeaky door reaches for the same can of spray lubricant. It’s the most natural instinct in garage repair, and in many cases it’s the wrong one. Here are the common “fixes” that actually accelerate the underlying problem.
Lubricating a binding track. A track that’s pinching the roller is a geometry problem. Grease hides the symptom for a few days while the roller keeps wearing flat against the track wall. By the time the squeal comes back, the track is gouged and the roller is gone. The right sequence is realign first, lubricate only if needed after.
Tightening every bolt you can find after hearing a rattle. Some bolts should not be tight. Track brackets need a little play to absorb the door’s natural movement. Overtightening can pull the track out of plane and create a new pinch point. The rattle you were chasing was probably a loose hinge, not a bracket.
Adding more tension to the springs because “the door feels heavy.” This is the most dangerous DIY move on this list, and we have to say it plainly: torsion springs under load hold enough energy to cause serious injury. Spring tension has a finite correct range for each door weight. Guessing at more tension masks a different problem, like worn rollers or a bent track, and puts the door in a state where it can fly open at speed.
Replacing the opener when the door is the problem. If the door fails the manual balance test, a new opener will just be subjected to the same excessive load and fail the same way in a few years. The opener is the motor; the door is the patient. Replace or repair the door’s mechanical components first, then decide whether the opener needs work.
Ignoring the sideways cable wear on a door that sags. One-side sag is not a permanent state until you fix it. Every cycle puts shear load on the track brackets, widens the gap, and bends the roller stems. A $60 alignment fix becomes a $400 track replacement if the door runs long enough.
Common Mistakes to Avoid
- Adjusting opener force settings before checking spring balance. Raising the force threshold to push a heavier door is a band-aid that increases wear on the opener gear and the springs. Balance first, settings second.
- Testing a door with the opener still attached. The opener masks mechanical problems by adding its own lift force. Always pull the release cord and test manually before concluding anything about the door itself.
- Assuming every brand uses the same troubleshooting logic. A LiftMaster reversing at the floor and a Genie reversing at the floor can have different sensor wiring layouts and different limit-setting procedures. The symptom is shared; the fix is not always interchangeable.
- Applying grease to the torsion spring to “stop it from getting stiff.” Springs don’t need external lubrication. Grease traps grit and creates an abrasive paste that wears the spring coils. Leave the springs dry.
- Ignoring a door that’s gradually getting slower. Loss of speed over weeks means friction is increasing or spring tension is fading. Both are progressive problems that get more expensive the longer they run.
- Closing the door by force when it reverses once. If the door reverses on the way down, holding the wall button down doesn’t fix the problem; it overrides the safety mechanism. Find out why it reversed before overriding anything.
When to Call a Professional
Some repairs are safe and reasonable for a homeowner with basic tools. Replacing a worn roller in an accessible track, tightening a loose hinge, or wiping down a sensor lens are all fair game. Other repairs cross a clear line, and the line is drawn at stored mechanical energy. Torsion springs are wound under several hundred pounds of torque. Cables ride over drums at full spring tension. When either one fails or needs replacement, a mistake during the winding or unwinding process can cause serious injury.
Call a professional when the door fails the manual balance test and you see a visible gap in one of the springs. Call when a cable has slipped off the drum or is fraying. Call when the door is off its track entirely. Call when the door is so heavy you can’t lift it by hand without straining. In Elk Grove, our team handles all of these, and we work on every major brand without steering you toward a particular one. Elk Grove Garage Door Service offers free estimates in Elk Grove. Call (844) 766-3083 and we’ll tell you what the door actually needs.
Frequently Asked Questions
Your opener’s close-force setting is too sensitive, or the safety sensor beam is being interrupted. Start by wiping both sensor lenses and confirming the indicator lights are solid. If the lights are good, the force margin needs adjustment or the spring balance has degraded enough that the door’s normal weight reads as an obstruction. Call (844) 766-3083 for an exact diagnosis if it keeps happening after the sensor check.
Pull the manual release cord and lift the door manually. If the door feels unusually heavy and won’t stay at the halfway point on its own, the springs are either broken or fully worn out. A loud bang from the garage followed by a door that won’t open more than a few inches is the classic torsion spring failure signature. Do not attempt to unwind or replace a torsion spring yourself.
In almost every case, yes. Openers and doors are independent systems. A new opener can be paired with any existing door as long as the door’s mechanical components are in working order. If the door itself is out of balance, the new opener will be working against the same problem. For opener replacement guidance, see our Garage Door Opener Repair in Elk Grove page.
Shaking on ascent points to track misalignment, loose track brackets, or worn rollers with flat spots. Run the door manually via the release cord. If it still shakes without the opener connected, the issue is mechanical and comes from the track or rollers. If it shakes only under power, check the opener’s mounting bolts and rail alignment.
Standard torsion springs are rated for roughly 10,000 cycles, which works out to 7 to 10 years for a typical Elk Grove household that opens the door three or four times a day. Extension springs wear faster. If your door is getting heavy or feels uneven, have the springs checked before one snaps. When it’s time for replacement, Garage Door Installation in Elk Grove covers spring and panel work as part of a full-system approach.
A disconnected door is freely movable, which means it’s also freely closable or openable by anyone walking up. For a short diagnostic test during the day, it’s fine. Don’t leave the door in manual mode overnight or when you’re away, and be careful that no one’s hands are near the bottom edge when you release the emergency cord under load.
The Bottom Line
The symptom your garage door shows is the diagnostic signal that leads to the correct fix, and reading it correctly is faster and cheaper than guessing. A door that reverses at the floor is talking about sensors or force settings. A door that stops halfway is talking about springs or limits. A door that shakes or bounces is talking about tracks, rollers, and cables. The five-minute manual release test isolates the fault in the door, the springs, or the opener, and it prevents you from replacing good parts to fix bad geometry. When the diagnosis lands outside the safe DIY zone, which includes anything involving torsion springs or lifted doors, call a specialist who knows all the major brands. Garage Door Repair in Elk Grove is exactly what we do, and we diagnose first, recommend second. Call (844) 766-3083 for a free estimate.
Written by the team at Elk Grove Garage Door Service, serving Elk Grove since 2018. Browse more guides & resources on our blog.
See the difference
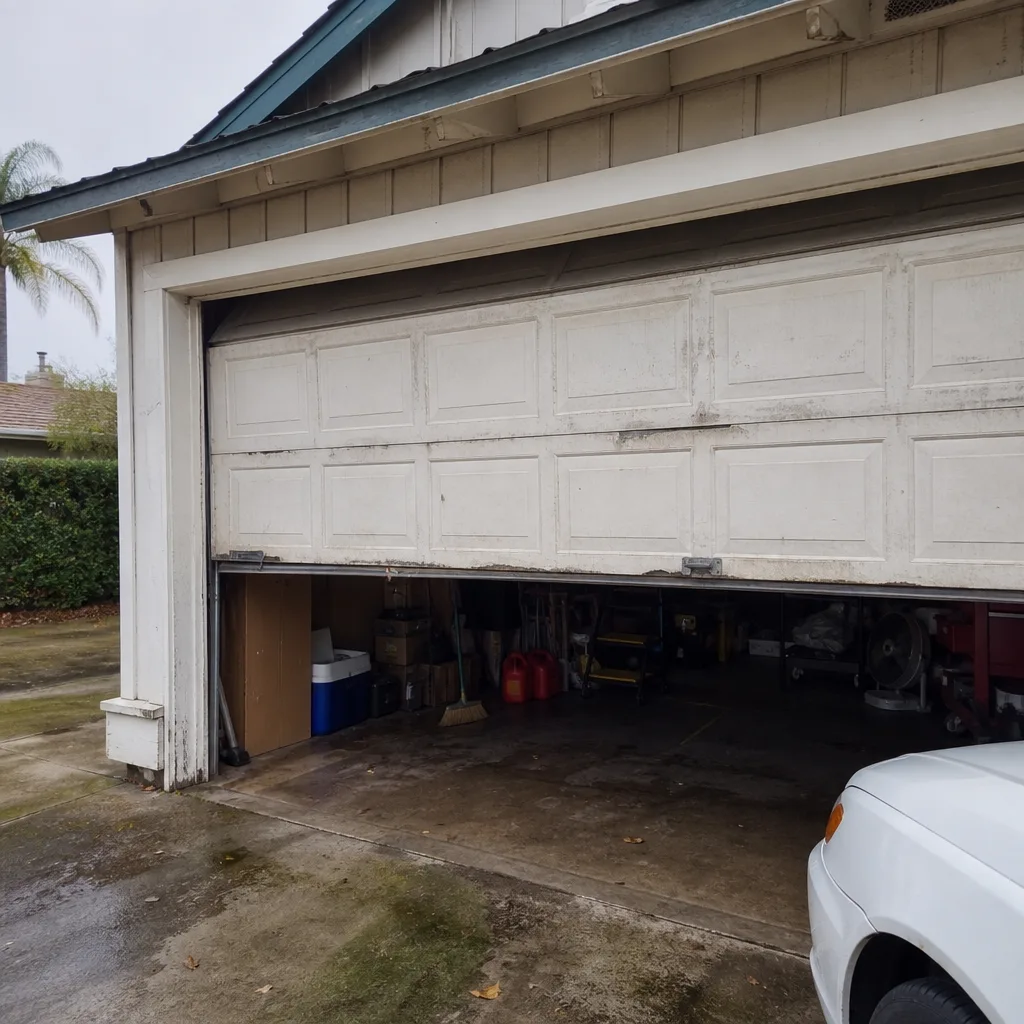 Before
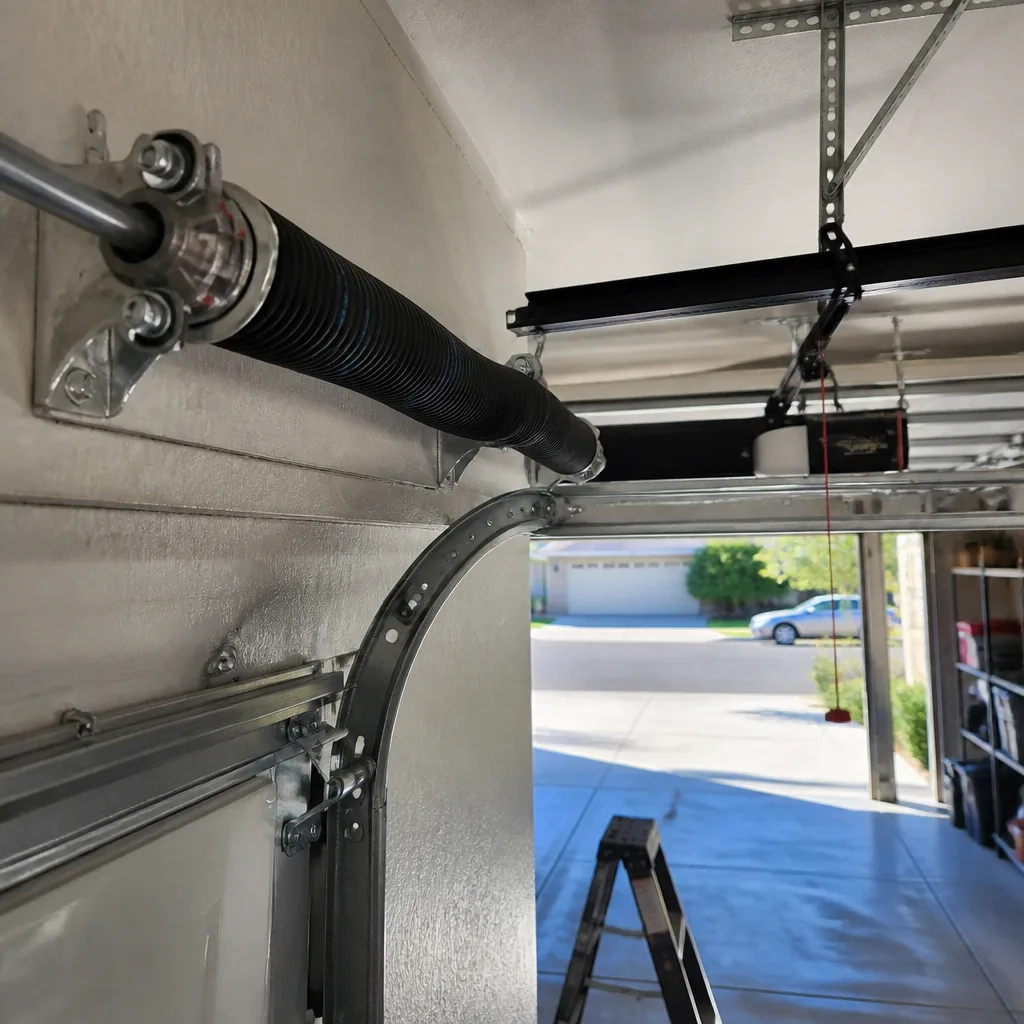 After
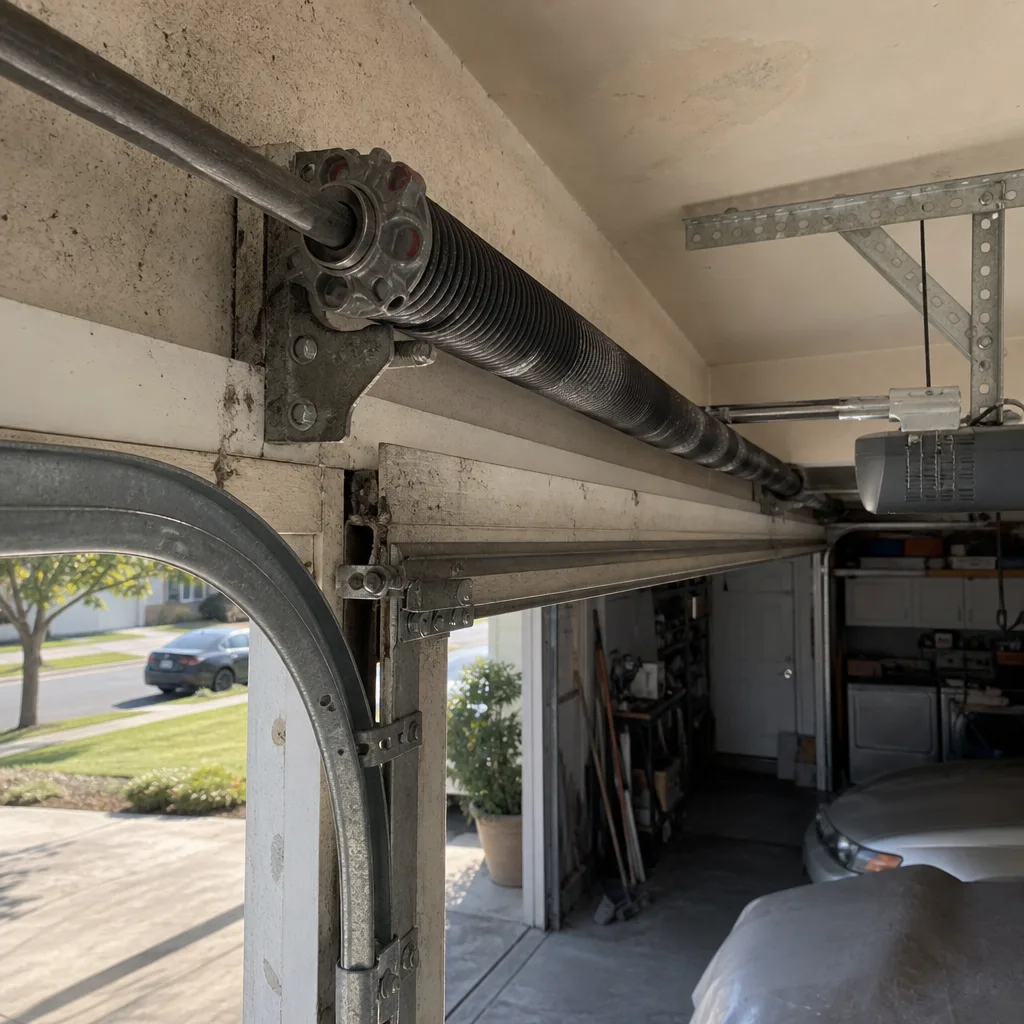 Before
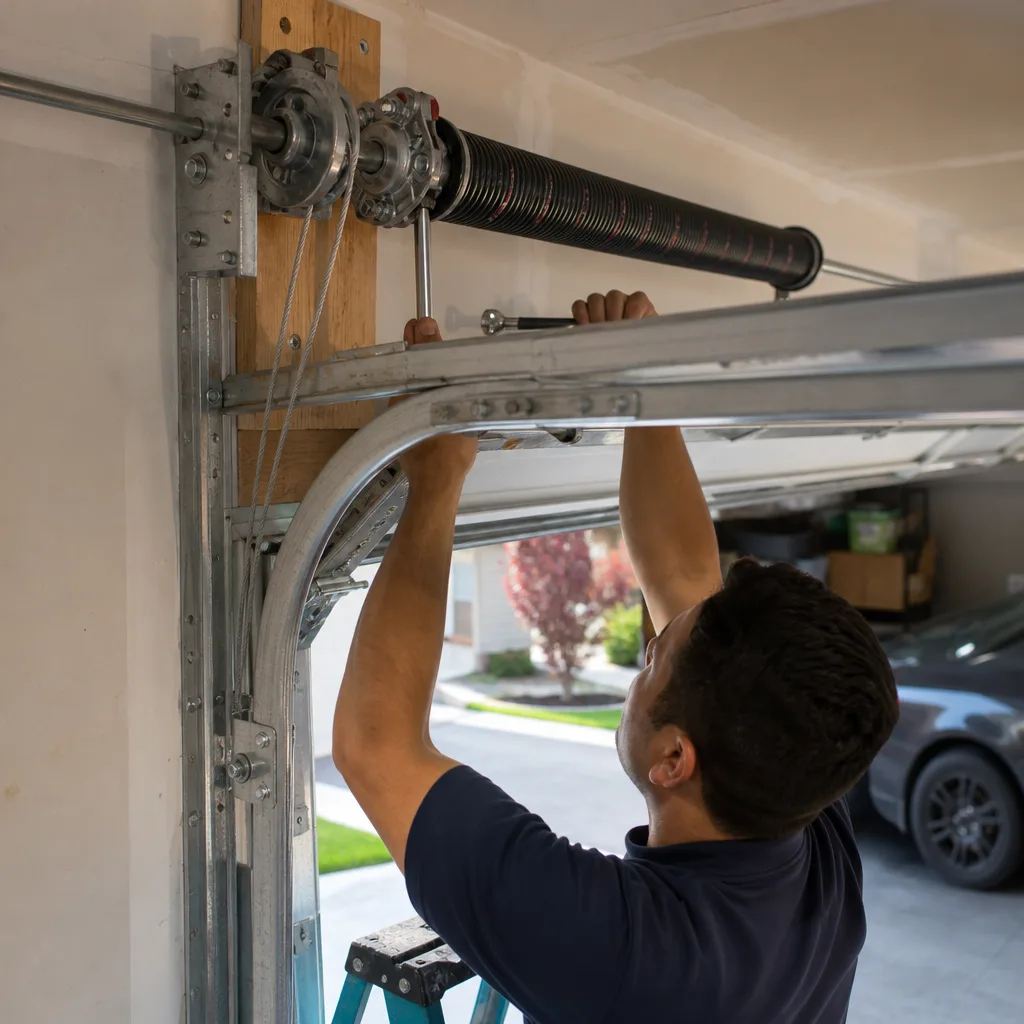 After
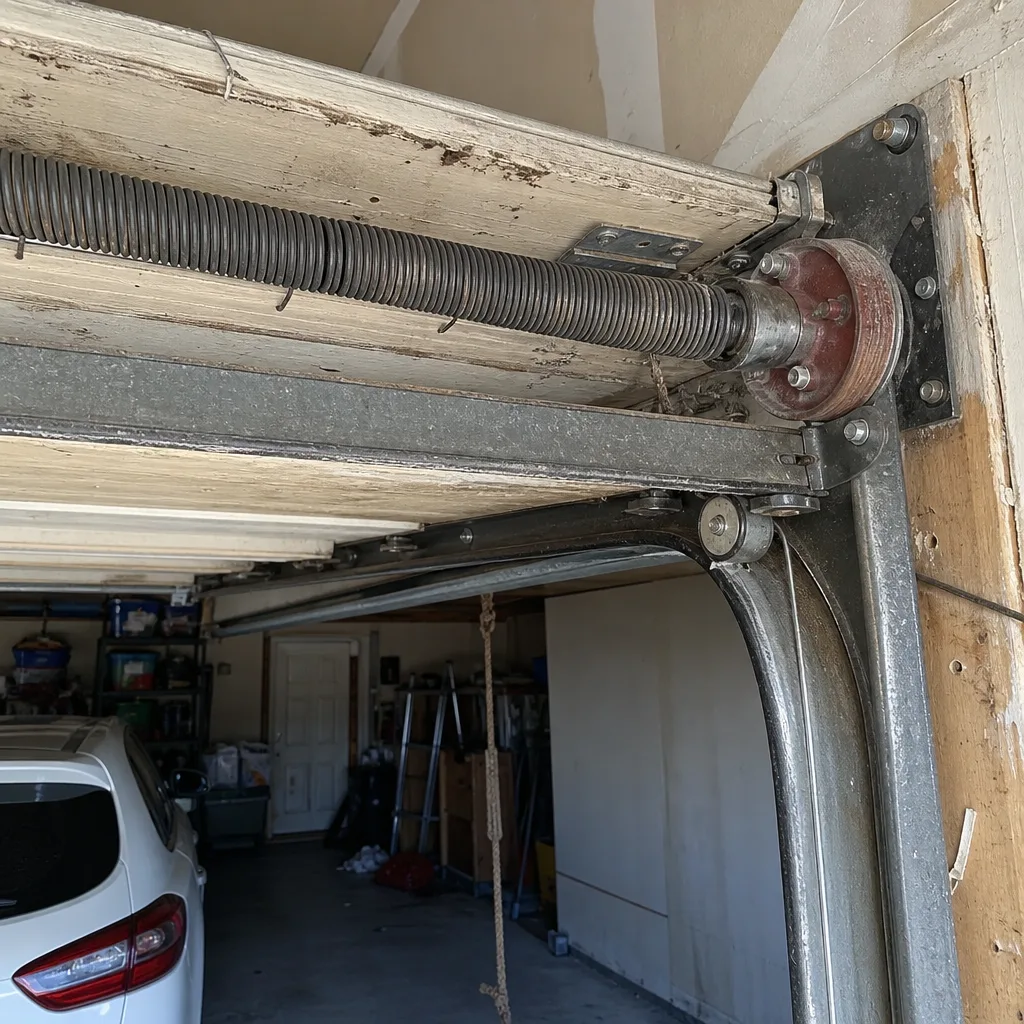 Before
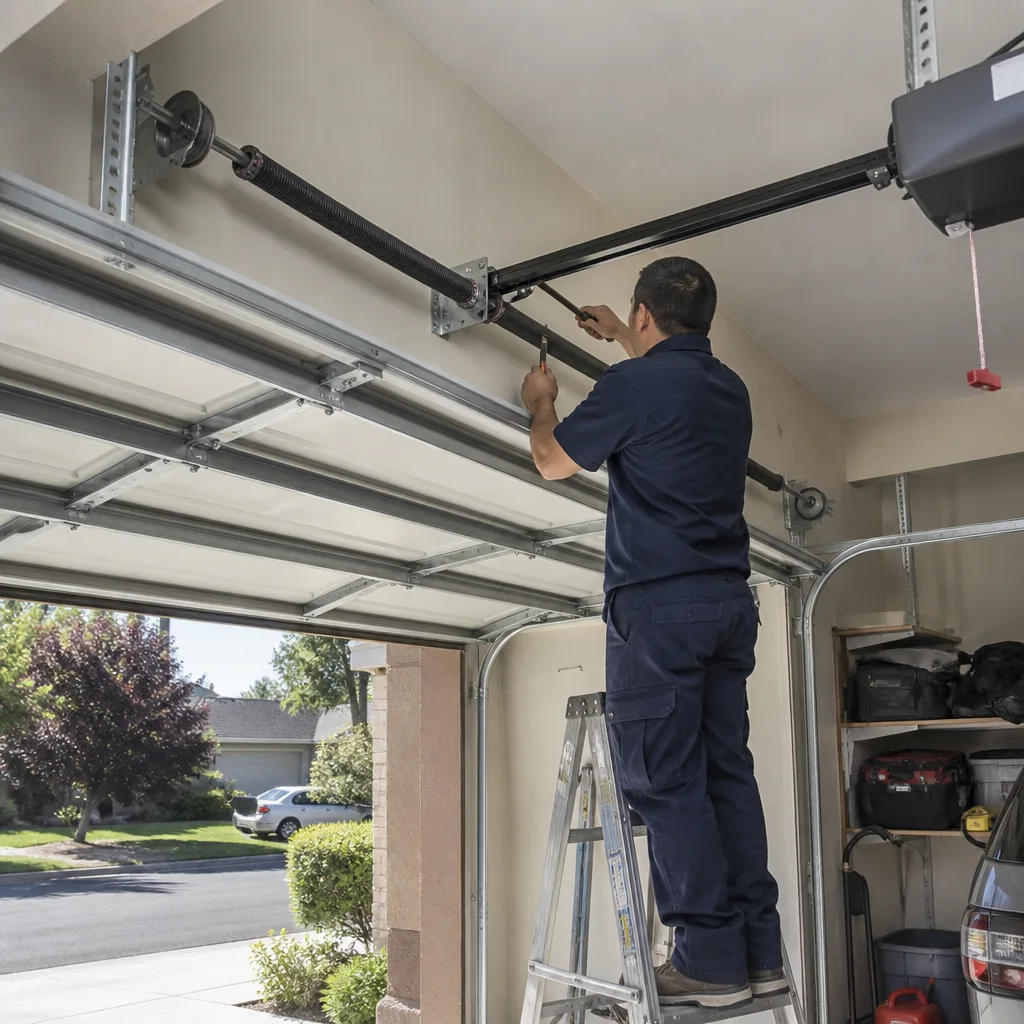 After