
Last updated October 31, 2026
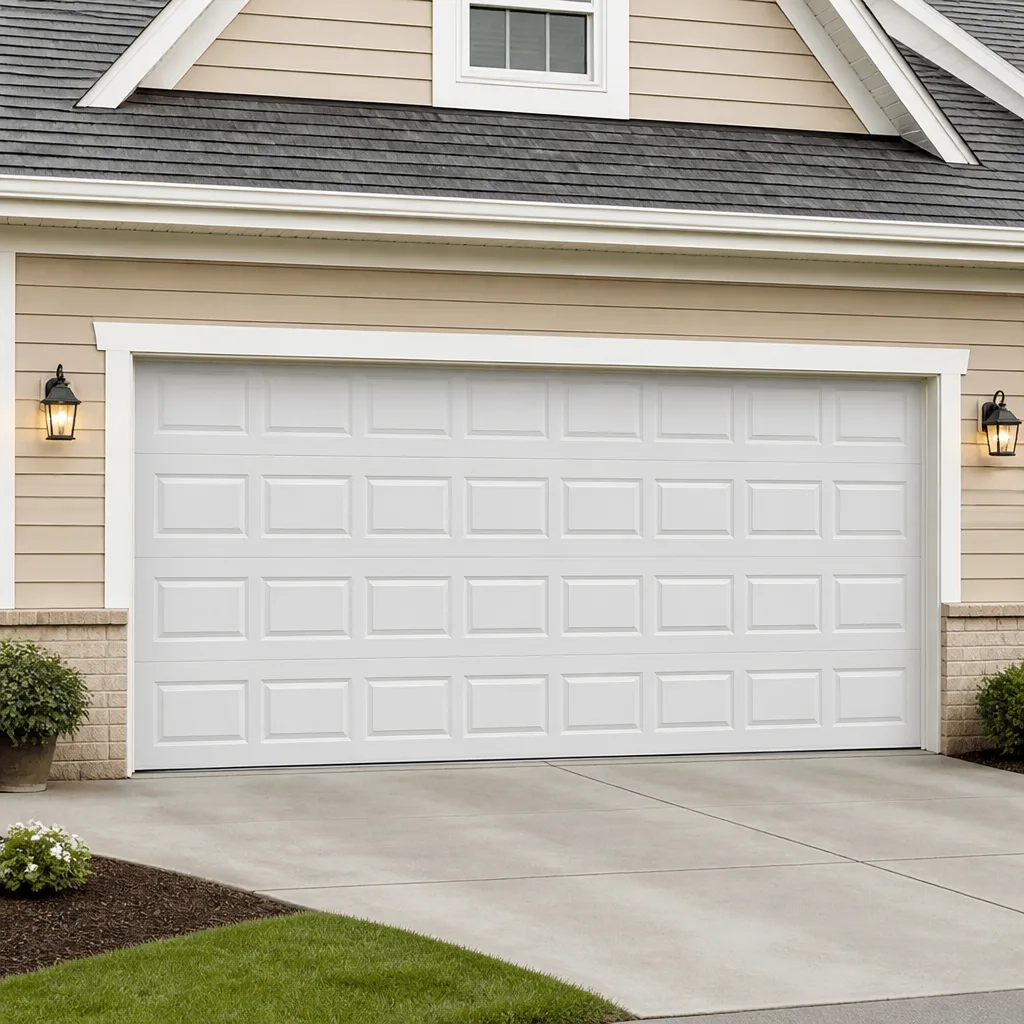 Raised-panel steel
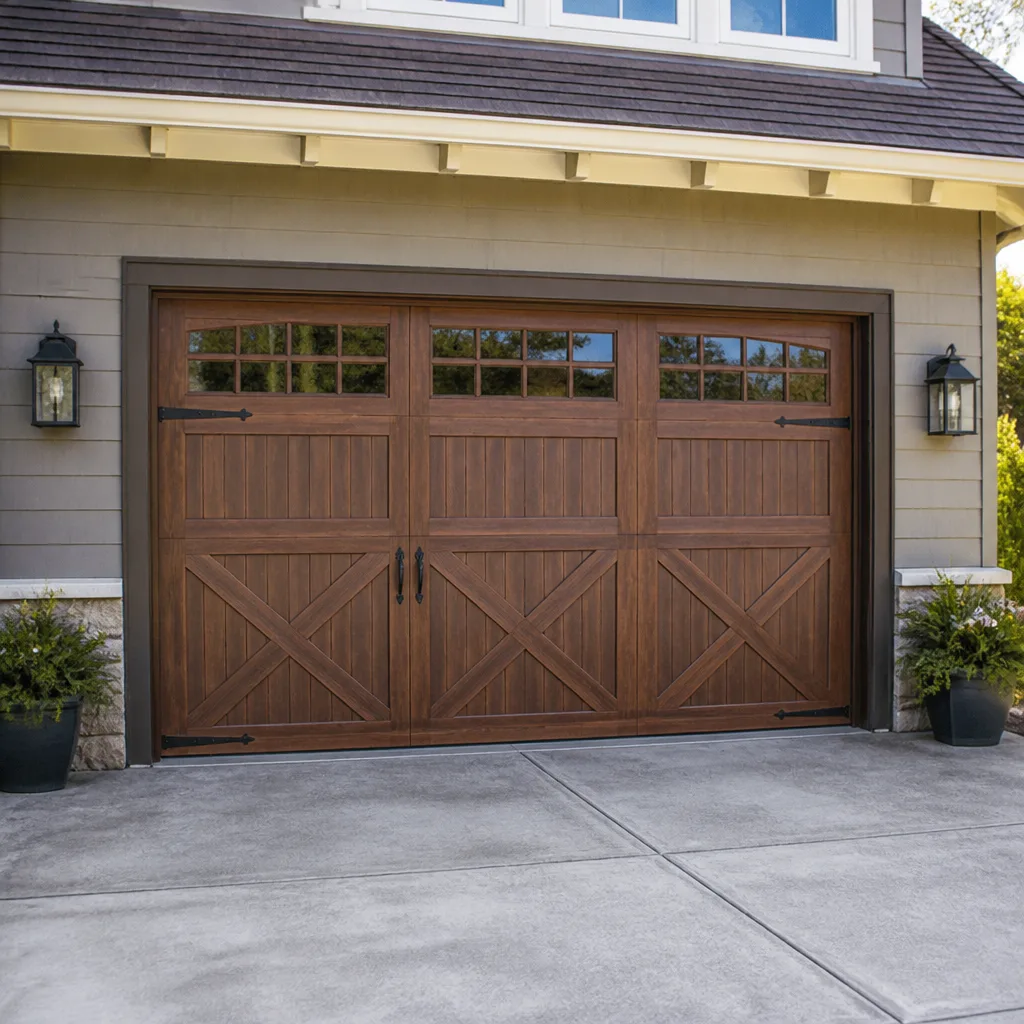 Carriage house
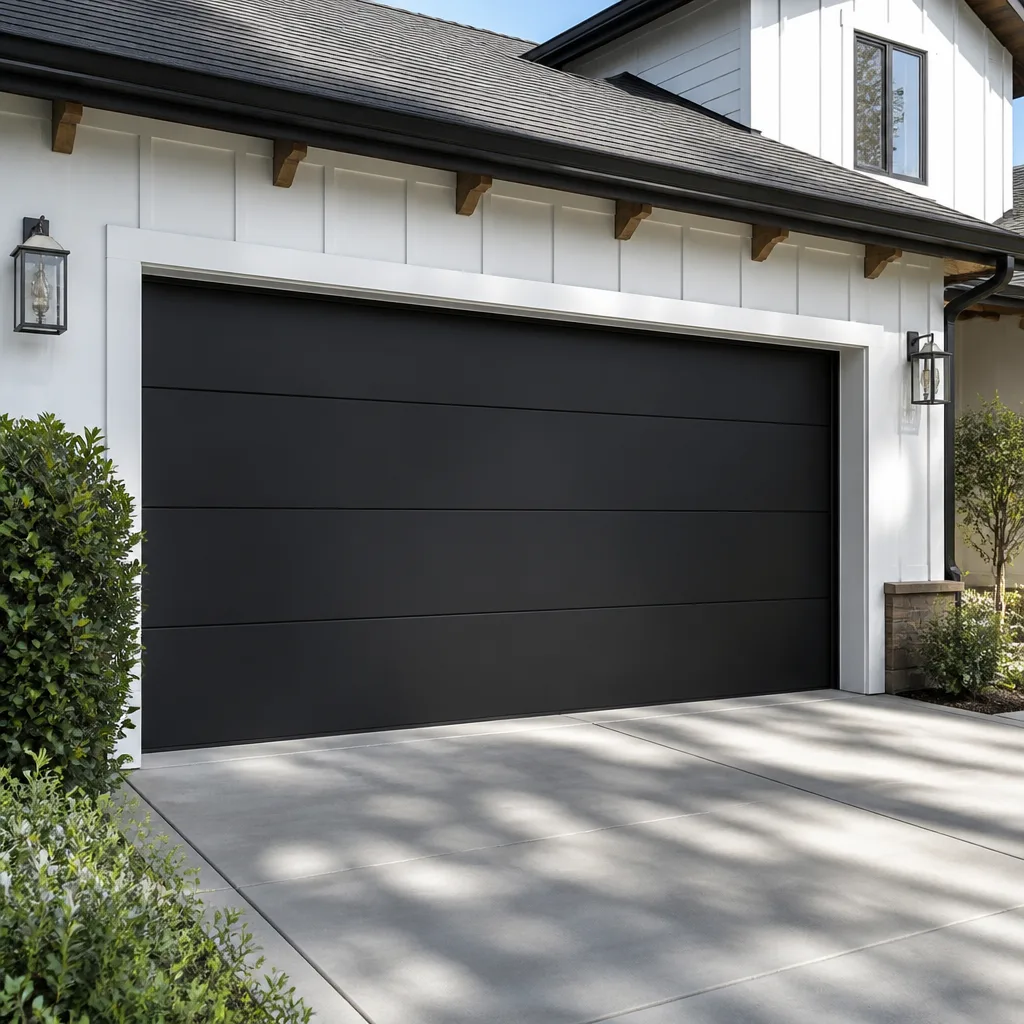 Modern flush
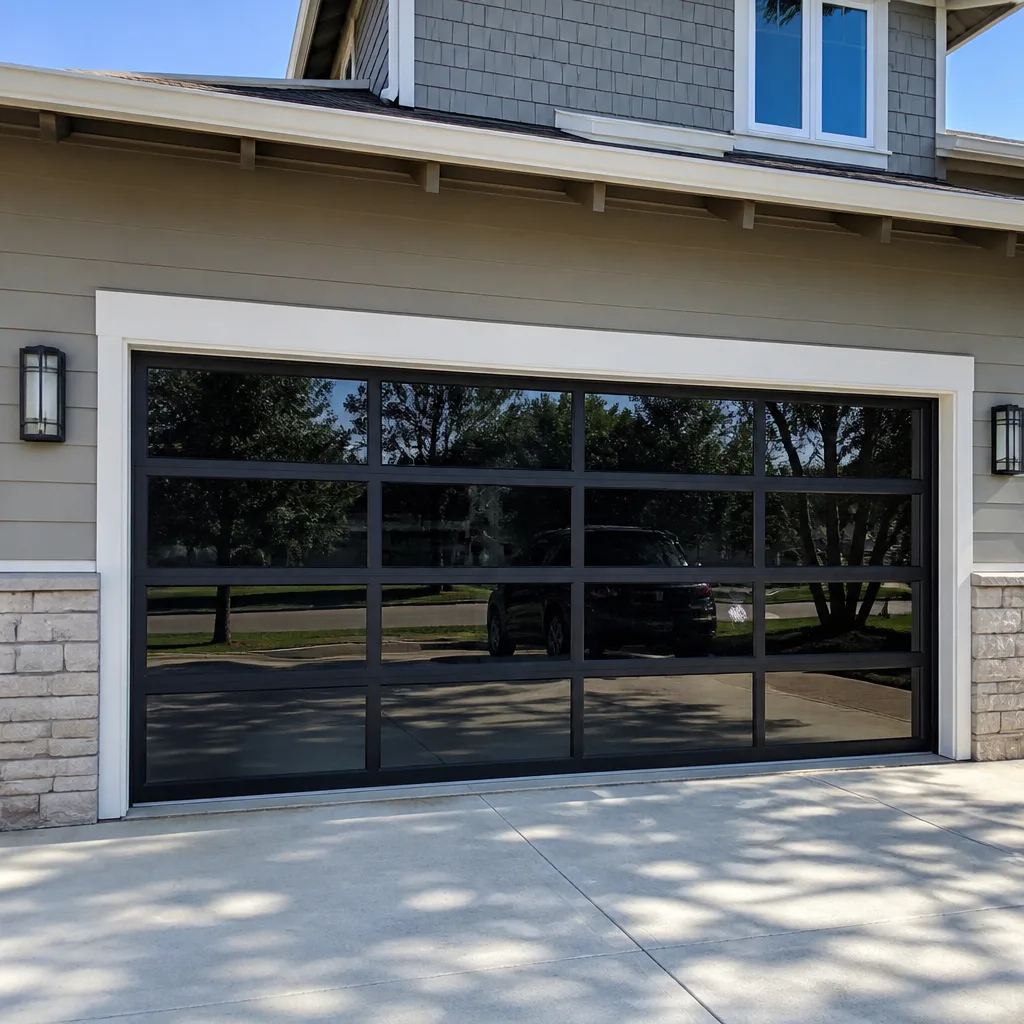 Full-view glass
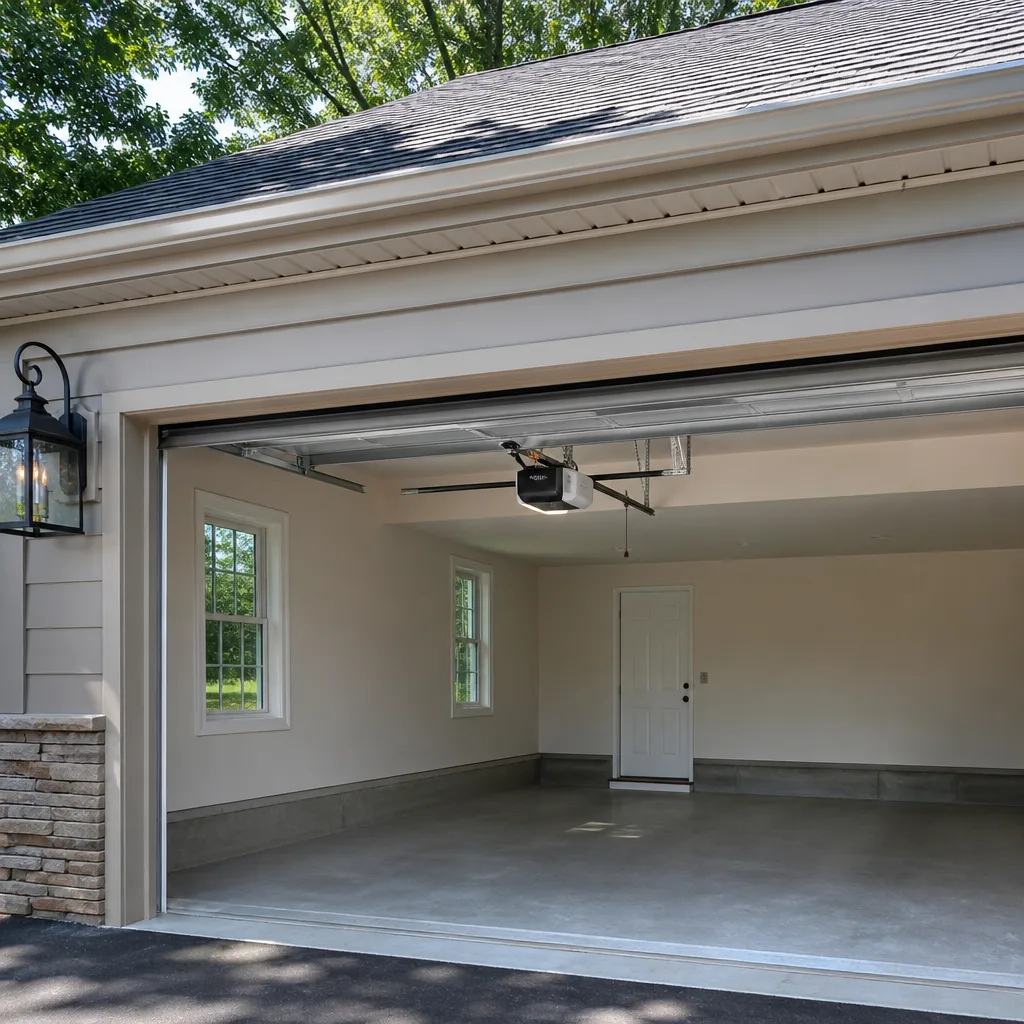 LiftMaster openers
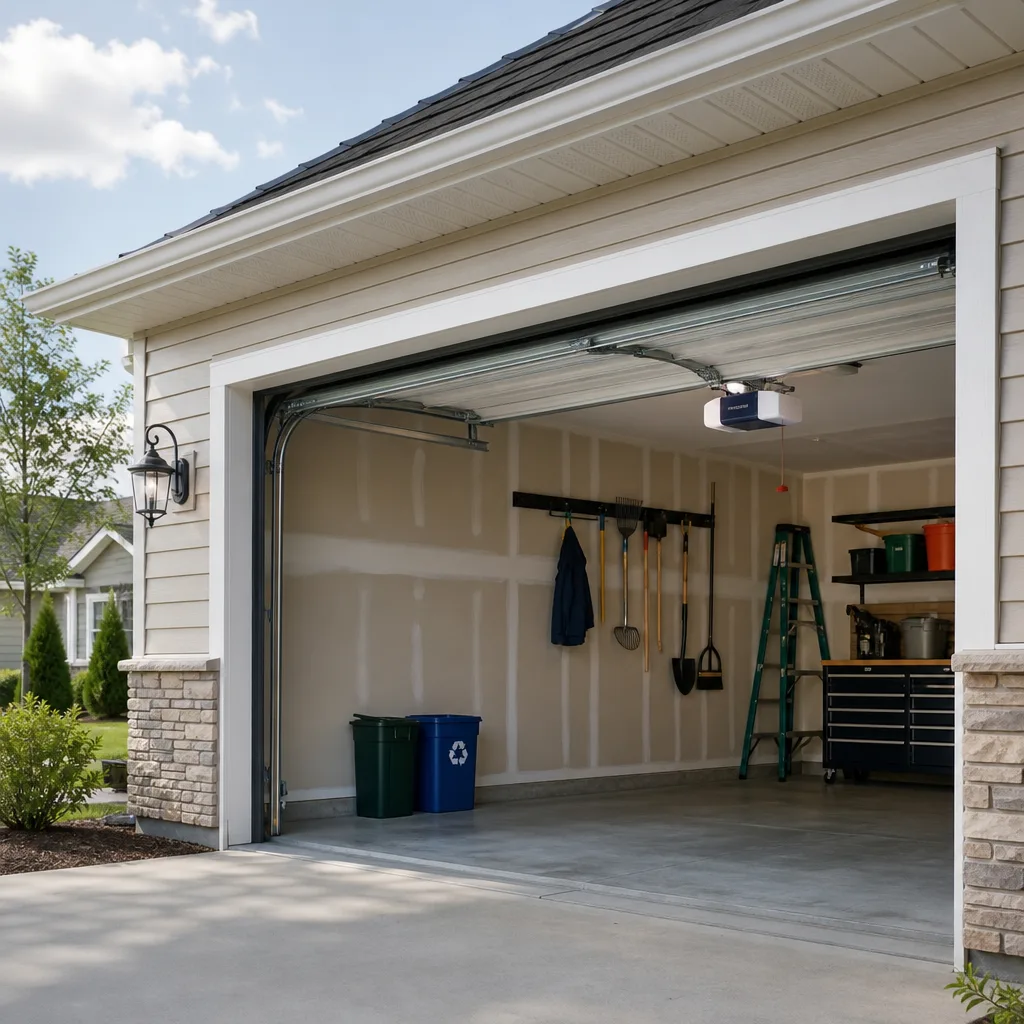 Chamberlain openers
Full 25-point door and opener safety check with every visit - springs, cables, rollers, tracks, and your LiftMaster or Chamberlain opener included
You get a price before we start. It does not change when the truck arrives.
Get your free estimateGarage Door Repair Maintenance Checklist for Elk Grove Homeowners
Here’s a counterintuitive fact we’ve learned from thousands of service calls across Elk Grove: the most expensive repair on a garage door is almost always the one that gave the longest warning. A torsion spring doesn’t snap quietly. It creaks, it groans, it makes the door feel heavier, and it leaves visible gaps in the coil for weeks or months before the final release. Most homeowners simply haven’t been taught what those signals mean. This checklist changes that. We’re going to walk you through every inspection point, ordered by what a failure actually costs you in Elk Grove’s climate, so you can spend twenty minutes twice a year and avoid a repair bill that could have funded something better.
Quick Answer
A garage door maintenance checklist for Elk Grove homeowners should follow this order: inspect spring tension and cables for visible wear, lubricate the rollers and hinges with a silicone-based product, test the auto-reverse and force sensitivity on the opener, check track alignment, tighten hardware, and verify weatherstripping at the floor line. Perform this sequence every spring and fall. The single highest-impact task is the spring cable inspection because those components fail together and account for the most costly unplanned repairs.
Styles & brands we work with
Table of Contents
- Spring Tension and Cable Inspection: The High-Cost Failure Point
- Lubrication Points That Matter (and Ones That Don’t)
- Testing Auto-Reverse and Force Sensitivity on Any Opener
- Track Alignment and Hardware Tightening
- Weatherstripping and the Elk Grove Dust Factor
- A Realistic Time-Per-Task Breakdown
- Common Mistakes to Avoid
- When to Call a Professional
Spring Tension and Cable Inspection: The High-Cost Failure Point
If you do nothing else on this checklist, do this. In our experience across Elk Grove neighborhoods, spring failure is the one repair that turns a $89 service call into a complete door replacement. Here’s why: when a torsion spring breaks under load, the sudden release of energy can bend the shaft, warp the track, bow the top panel, and snap a cable in the same instant. What started as a worn-out $180 spring becomes a $1,200 assembly replacement. That is why spring inspection comes first on this list and why it matters more than any other maintenance task.
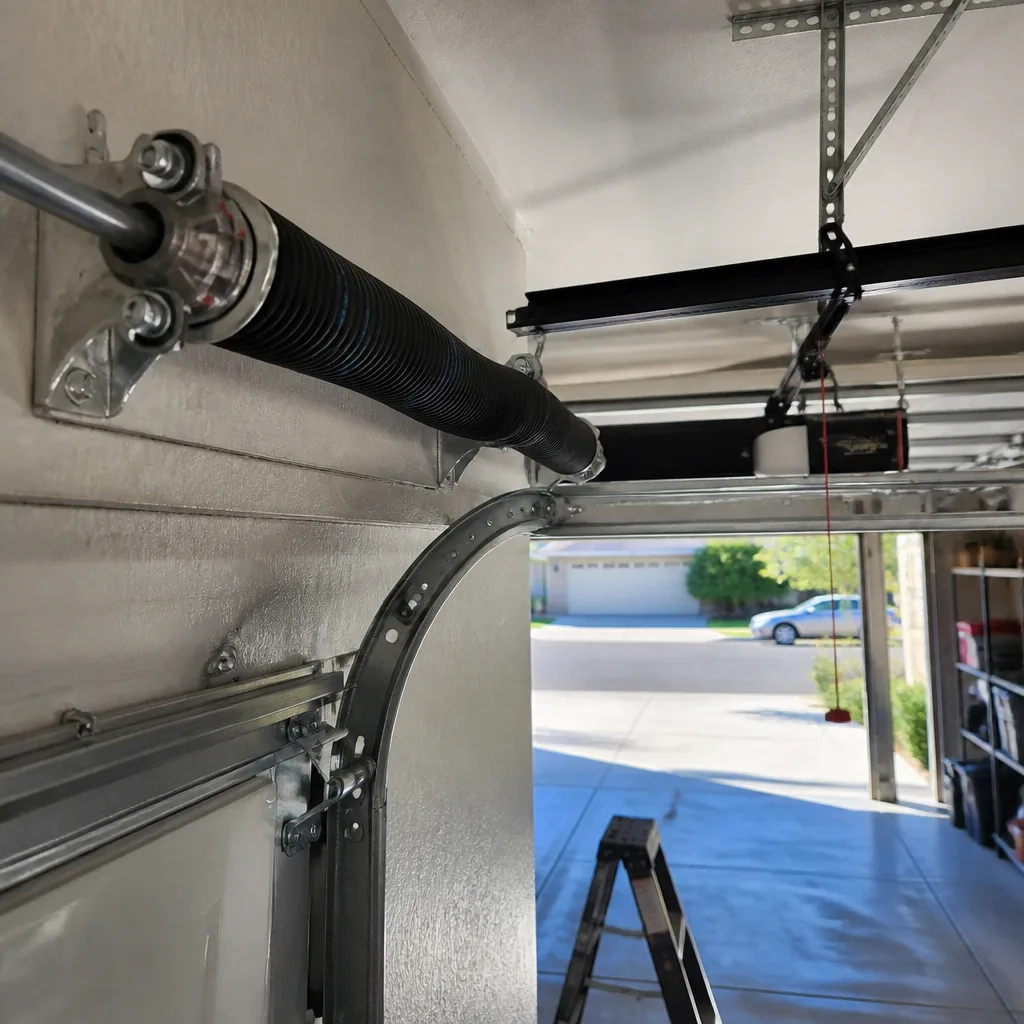
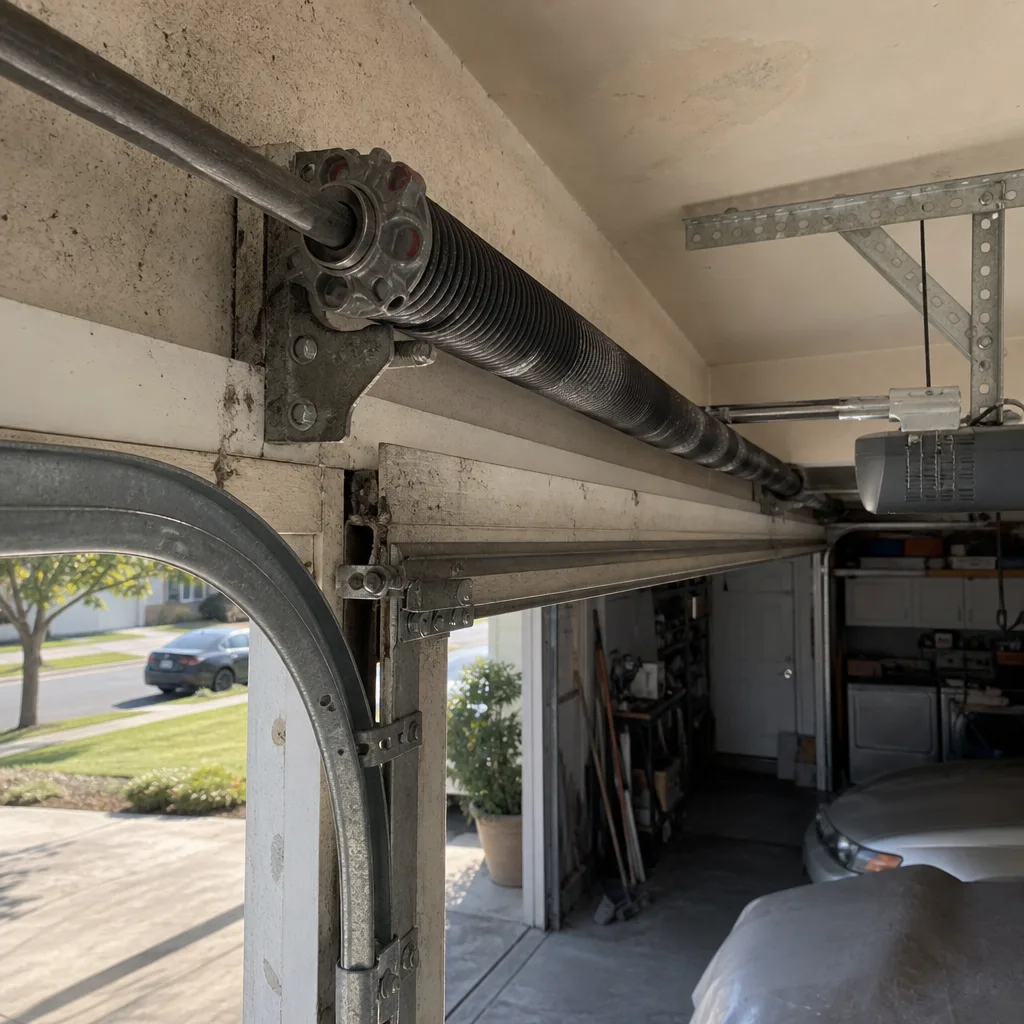
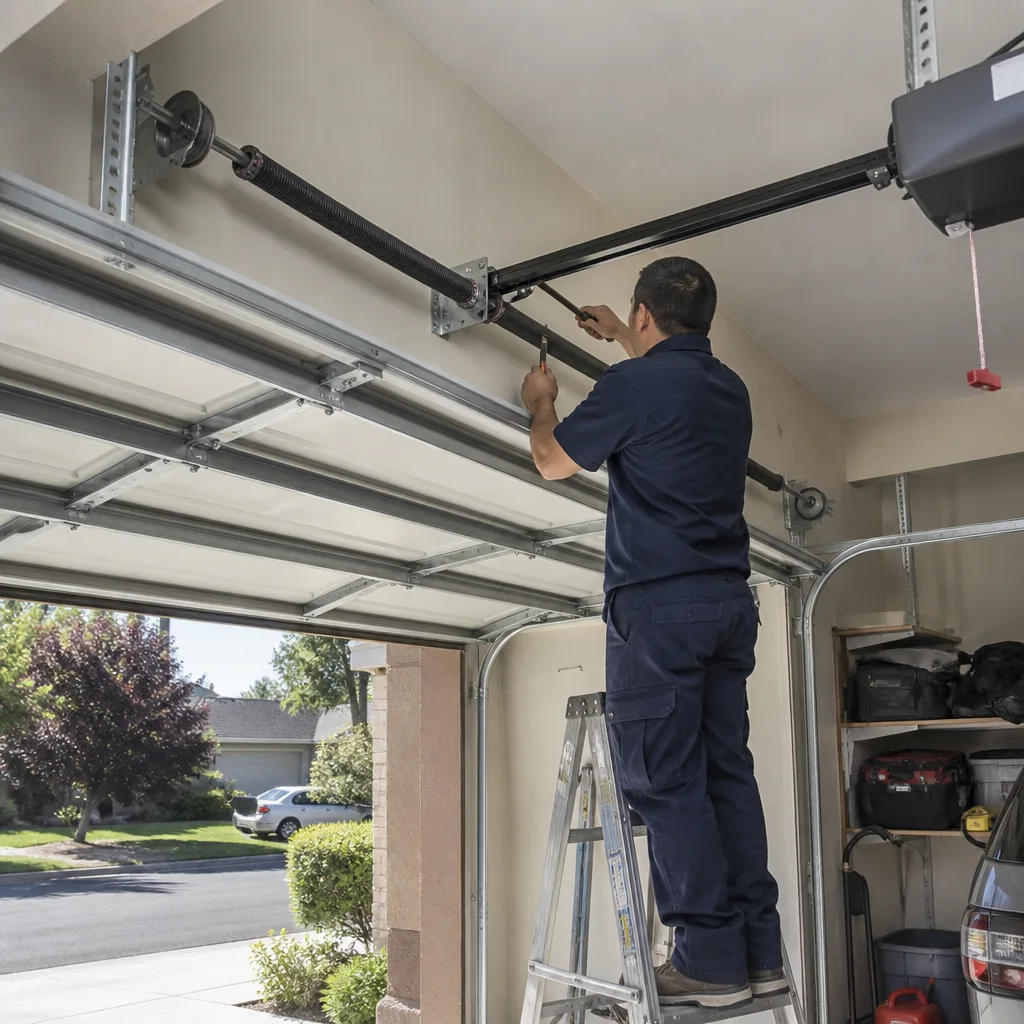
What you’re looking for on a torsion spring (the thick coiled spring mounted horizontally above the door opening):
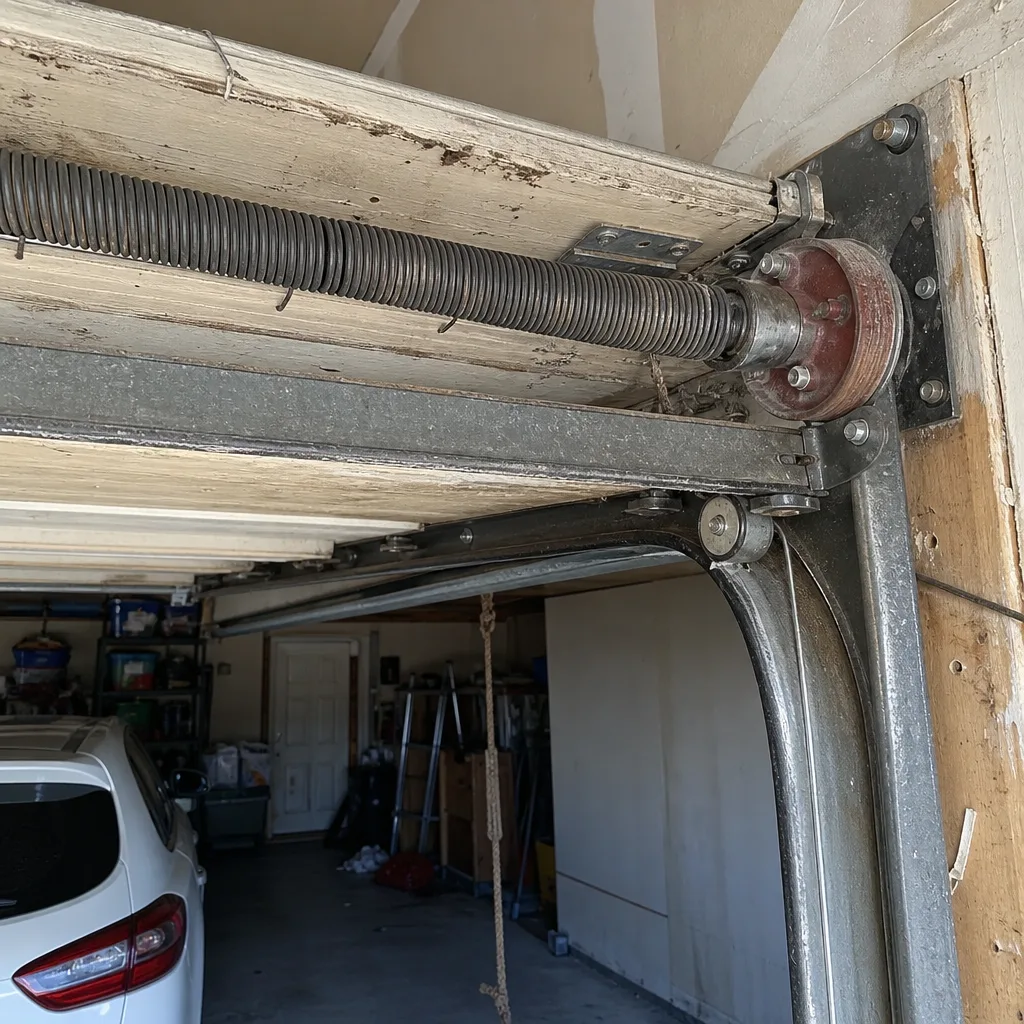
- Gaps in the coil: A healthy spring is a continuous coil with no visible separation between coils. If you see a gap wider than a credit card, the spring is beginning to spread. That’s fatigue. On a LiftMaster-equipped system with standard spring bars, this is the most reliable early indicator.
- Rust flaking at the coil ends: Surface rust is cosmetic. Rust that flakes off in chunks weakens the steel. In Elk Grove’s summer heat, powder-coated springs hold up better than raw steel, which is why the coating matters at installation time.
- Door feel: With the opener released (pull the red emergency cord), lift the door by hand. It should rise smoothly and stay at waist height. If it feels heavy, if it wants to drop, or if it requires real effort to lift, the spring is losing tension even if it looks intact. Heavy door feel is the warning sign we most often hear about in hindsight.
Now the cable check. This is where sequence matters. Cables and springs fail in a chain, not independently. A spring that loses tension transfers that load to the cables. A frayed cable then snaps under the added stress, and the door jams cockeyed in the track. When you inspect the spring, look at the cables running along each side of the door:
- Fraying: Any broken wire strand near the drum at the top of the track is a red flag. Cables don’t fray in the middle; they fray at the drum attachment because that’s the pinch point.
- Slack: A cable should be taut at all times. If you see sag when the door is down, the spring has lost tension and the cable is riding loose on the drum.
- Kinks or birdcaging: If a cable looks twisted or bulged rather than smooth, strands are separating internally. It is already compromised.
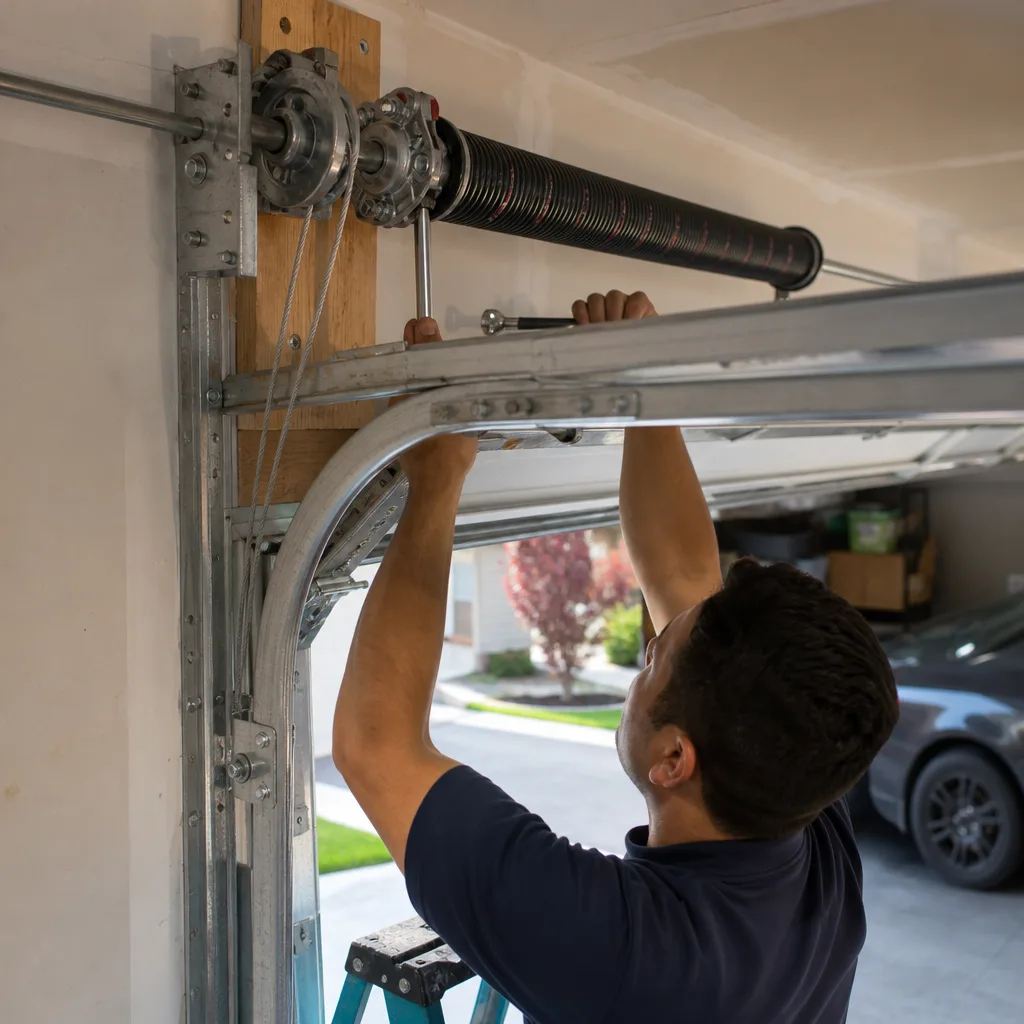
One safety note: torsion springs are under hundreds of pounds of rotational force. Never attempt to adjust, remove, or re-tension one yourself. This inspection is visual and tactile through the door only. If you see what looks like a problem, or if the door feels heavy when released, that’s a professional call. The team at Garage Door Repair in Elk Grove works on springs and cables from every major brand, including Raynor, Craftsman, and Clopay systems, and can tell you within a single visit whether a spring has two months or two years left.
Lubrication Points That Matter (and Ones That Don’t)
Lubrication is the most misunderstood maintenance task on a garage door. We’ve seen homeowners spend forty minutes spraying WD-40 on every exposed metal surface, only to find out that they’ve actually made the problem worse. Here’s the simple rule: lubricate the parts that move against each other, and use the right product. Nothing else.
The four lubrication points that actually matter, in priority order:
- Rollers: Every roller spins inside a hinge barrel. A drop of silicone lubricant at the bearing point (where the roller shaft enters the hinge) keeps the door quiet and reduces friction on the track. Do not lubricate the roller face or the track itself. A greased track collects dust and turns into grinding compound.
- Hinges: Each hinge has a pivot pin. A small shot of lubricant on the pin keeps the panel joints articulating smoothly. Door panels that squeak while opening are almost always dry hinges.
- Spring coils: For torsion springs, run a light line of lubricant along the top of the coil so it works into the gaps. The coils rub against each other every cycle. Dry springs squeak; lubricated springs run quiet. This also slows surface rust.
- Opener rail (chain and screw drive only): If your opener uses a chain or screw drive, it needs periodic lubrication. If it’s a belt drive, it does not. Chamberlain and LiftMaster belt drive openers are sealed and self-lubricating; adding grease to a belt shortens its life.
Product guidance for Elk Grove’s climate matters here. Our summers regularly run into the 90s, and a thin petroleum lube will break down and drip onto the door face. A silicone-based garage door lubricant holds up in that heat without attracting the same dust. We recommend a white lithium grease spray for the chain and torsion spring, and a silicone spray for hinges and rollers. Skip WD-40 entirely. It’s a water displacer, not a lubricant, and it strips away any protective coating that was already there.
What about the stuff that looks like maintenance but isn’t? Cleaning the track rails is maintenance theater. Tracks are guide channels, not bearing surfaces. The roller wheels don’t roll on the track like a skate wheel on pavement; they ride inside it. Spraying degreaser in the track does nothing for performance. Skip it. The same goes for wiping down the opener motor housing. Dust on the motor’s exterior doesn’t affect function. Spend your time where the moving parts actually are.
Testing Auto-Reverse and Force Sensitivity on Any Opener
Since 1993, every garage door opener sold in the United States has been required to include an auto-reverse mechanism that stops and reverses the door when it hits an obstruction. That’s federal law, not a brand recommendation. But the mechanism only works if it’s adjusted correctly, and force settings drift over time as springs weaken and track alignment shifts. Testing this takes about three minutes and should be part of every seasonal maintenance pass. This test applies whether your opener is a Chamberlain belt drive, a Genie screw drive, a Raynor opener, or a Craftsman chain drive from 2005.
Here’s the sequence:
- Lay a 2×4 flat on the floor directly under the center of the door, in the path of the closing door.
- Close the door. The door should hit the 2×4 and reverse within two seconds of contact, returning to the open position.
- Test force sensitivity: With the door full open, press the close button, then press the wall button a second time. The door should pause immediately and not crush downward.
- Check the reversal speed: If the door reverses slowly, the force setting is too high. If it barely touches the board and shoots back up, it’s within range.
Adjusting force settings is brand-specific and located in the opener’s programming menu or on the motor head. The process for adjusting down-force on a Chamberlain is different from a Raynor even though both use security protocols for keypad access. We walk customers through this exercise during regular Garage Door Opener Repair in Elk Grove visits because it’s the difference between a door that stops for a child’s bicycle and a door that doesn’t. If the door fails the 2×4 test, stop using it and make the adjustment call immediately.
Another opener-level check that fits in this section: the safety sensors. They’re the two small units mounted low on each side of the door opening. They shoot an infrared beam across the threshold. If anything breaks that beam while the door is closing, the door reverses. To test, close the door and wave your hand through the beam at ankle height. The door should reverse instantly. If the sensors are misaligned, the opener usually blinks an error code. On LiftMaster models, it’s the green and yellow lights; on Chamberlain, it’s the same protocol with a different flash cadence. The sensor brackets get bumped by bikes, mowers, and kids. Check alignment every time you sweep the garage.
Track Alignment and Hardware Tightening
Here’s a maintenance fact most guides skip: garage door panels are bolted to hinges that ride in tracks, and every open-close cycle sends micro-vibrations through every nut and bolt on the assembly. Over 100 to 150 cycles a month, bolts loosen. Loose hardware creates play, play creates uneven wear, and uneven wear creates a door that binds, grinds, or jumps a roller out of its track. Hardware tightening isn’t cosmetic. It’s a wear-reduction task.
What to check and tighten, in order of frequency:
- Hinge bolts: Each panel is connected to the next with two to four hinges. Check the bolts on all hinges. If any are loose enough to turn with a socket wrench, the panel is shifting under load.
- Track mounting brackets: The vertical and horizontal tracks are held to the wall and ceiling with lag bolts. Loose brackets let the track flex, and a flexing track is how rollers bend or jump.
- Opener mounting strap: The motor head is bolted to a steel strap above the opener. A loose strap translates into vibration and noise during operation.
- Bottom bracket: The bottom brackets hold the cables and the bottom rollers. This is the highest-stress point on the entire door when the spring is under load. If these bolts loosen, the cable angle changes and wear accelerates rapidly.
One nuance: the bottom bracket is also the most dangerous hardware on the door to adjust yourself because it’s directly tied to spring tension. Tightening the top hinge bolts is safe. Touch the bottom bracket bolts only if the door is fully open and resting on the horizontal track, which releases most of the cable tension. Even then, our recommendation is to make this part of an annual professional visit rather than a do-it-yourself weekend project. This is a safety call, not a skill call. Anyone who’s been in this trade for a few years has an Elk Grove story about a homeowner who tried to save twenty dollars and learned what a spring under tension can do.
Alignment check: with the door down, stand inside and look at the gap between the rollers and the track on both sides. The gap should be consistent from top to bottom. If the door sits tighter on one side, or if you see daylight on the opposite side, the track needs adjustment. Don’t hammer on the track with a mallet. A misaligned track is usually a symptom of a worn hinge or a settling door, not a stand-alone problem.
If during any of this you spot damage that goes beyond tightening, remember that our approach is repair-first. The crew that handles Elk Grove Garage Door Service home calls works across every major brand because doors in Elk Grove are just as likely to be original Clopay units from 1998 as they are new Raynor installations from last year. Whatever brand is on your door, we know it. Door hardware and track repair should not require a second contractor.
Weatherstripping and the Elk Grove Dust Factor
Elk Grove sits in a region that gets dry summer heat and occasional heavy rain, but the garage door’s primary weather enemy here isn’t water. It’s dust. The same fine particulate that coats your patio furniture during hot months settles into the bottom weatherstripping, works its way into the track, and grinds against the rollers. Weatherstripping is a consumable, and in our climate it degrades faster from UV and dust exposure than from snow or ice.
Inspect these three weatherstripping points:
- Bottom seal (the astragal): The rubber strip along the bottom of the door. Look for cracks, tears, gaps at the corners, and compression memory. A bottom seal that stays flattened instead of springing back creates a dust entry point and lets hot air in during July. Replacement is a simple slide-out installation if the retainer channel is intact.
- Side and top perimeter seals: The vinyl trim around the door frame. These block the gaps between the door panel and the frame. Sun-bleached, brittle, or curling seals don’t seal anything. They usually need replacement every five to seven years in our climate.
- Threshold: If your garage floor has settled or cracked, the bottom seal can’t do its job even when new. A crack wider than a quarter inch under the door line is large enough for dust and rodents.
Test the seal quality with the door closed. From inside the garage on a sunny day, look for light seeping in around the bottom and sides. Any light means air, dust, and water can travel the same path. A properly sealed garage stays cooler in Elk Grove summer and keeps your opener’s lubrication from getting contaminated by abrasive dust. That’s the real cost of a worn seal: it isn’t just energy loss, it’s accelerated wear on every moving part.
This is also the section where we mention that a new door installation solves seal problems permanently if the existing framework is warped beyond seal replacement. Our Garage Door Installation in Elk Grove work includes re-levelling the seal path and matching the bottom astragal to the specific panel profile, which matters because a Clopay panel has a different bottom channel than an Amarr, and using the wrong seal creates the same gap the old one had.
A Realistic Time-Per-Task Breakdown
Most maintenance checklists fail for one reason: they read like a full Saturday of work, so no one actually does them. The real maintenance sequence takes 20 to 25 minutes if you know what you’re doing, and the tasks divide cleanly into what a homeowner can do safely and what genuinely requires a technician. Here’s the honest breakdown.
Homeowner-doable, all in one 20-minute pass:
- Spring visual inspection: 2 minutes. Look at gap width, rust, and general coil alignment. No tools required.
- Cable visual check: 1 minute. Look for fraying at the drum, slack, kinks. No tools required.
- Door feel test: 2 minutes. Release the opener, lift the door, feel for heaviness. Re-engage the opener.
- Lubrication: 5 minutes. Four points only: rollers, hinges, spring, chain or screw drive. Have the right product ready.
- Auto-reverse and sensor test: 4 minutes. The 2×4 test plus the sensor beam wave. No tools except a scrap board.
- Hardware tightening: 4 minutes. Socket wrench pass over hinge bolts, track brackets, opener strap. Skip bottom brackets.
- Weatherstripping visual: 2 minutes. Light test, corner checks, compression feel.
Total: 20 minutes. Do this in March and September, and you’ve covered 80 percent of preventable failure modes.
What requires a technician:
- Spring replacement or tension adjustment: Never a DIY task. A torsion spring under full tension stores enough energy to cause serious injury. This is the one job in the garage door trade that professionals universally refuse to teach amateurs.
- Cable replacement: Cables can only be safely replaced with the spring tension released. Same danger profile.
- Bottom bracket tightening or replacement: Connected to the cables and springs.
- Track realignment: If the door binds or the rollers are out, the fix usually involves adjusting the track with the door under tension. It can be done by a careful homeowner in some cases, but we recommend a second set of trained eyes.
- Force sensitivity adjustment on older openers: If the opener’s programming menu isn’t clear or the unit predates digital settings, call someone who works on that brand regularly.
This is a reasonable, honest division. A 20-minute seasonal check covers the early-warning stuff. The heavy-lifting repairs happen when a problem shows up on that check, and that’s exactly what a specialist visit is for. Our service area covers all of Elk Grove and we see every configuration, from 1990s Craftsman chain drives to new Raynor belt systems. There is no brand we haven’t worked on in this market.
Common Mistakes to Avoid
- Using WD-40 as garage door lubricant. It’s a solvent and water displacement product, not a lubricant. It strips protective coatings and evaporates quickly, leaving the metal drier than before. Use silicone spray or white lithium grease instead.
- Lubricating the track and roller face. The track is a guide channel, not a bearing surface. Greasing it just creates a dust-catching surface that grinds against the rollers. If the door is loud and you’ve been oiling the track, that’s why.
- Ignoring a heavy-feeling door. The most expensive repair we see in Elk Grove is the delayed response. A door that feels heavy when released is a spring in failure. Fix it now, or pay for the cascade damage later.
- Testing auto-reverse with a hand instead of a 2×4. Your hand is smaller than a bicycle tire and softer than the obstruction threshold. A hand test passing doesn’t mean the force setting is correct. Use a board.
- Replacing cables without touching the spring. A frayed cable is almost always the result of spring fatigue. Replacing the cable alone fixes the symptom. The original failure repeats within months. Diagnose the spring too.
- Disconnecting the opener and leaving the door open. An unpowered opener with the door in the open position leaves the full door weight on the springs. If they fail while open, the door comes down hard. Close the door or support it before opening the emergency release.
- Assuming one brand’s maintenance is different from another’s. LiftMaster, Chamberlain, Raynor, Craftsman, and Genie all follow the same physics. Maintenance intervals don’t change by brand. What changes is the adjustment procedure for force settings, not the need to check them.
When to Call a Professional
This checklist will point out problems before they turn into failures, but some findings are stop signs. A visible gap in a torsion spring coil is a stop. A frayed cable at the drum is a stop. A door that fails the 2×4 auto-reverse test is a stop. A door that sits visibly crooked in the track is a stop. Anything involving bottom brackets, spring tension, or cable replacement is not a homeowner-safe repair project. Call someone who works on Garage Door Repair exclusively. Elk Grove Garage Door Service offers free estimates in Elk Grove, and we’ll tell you honestly whether a component can get another season or needs attention now. Call (844) 766-3083 to schedule an inspection.
See the difference
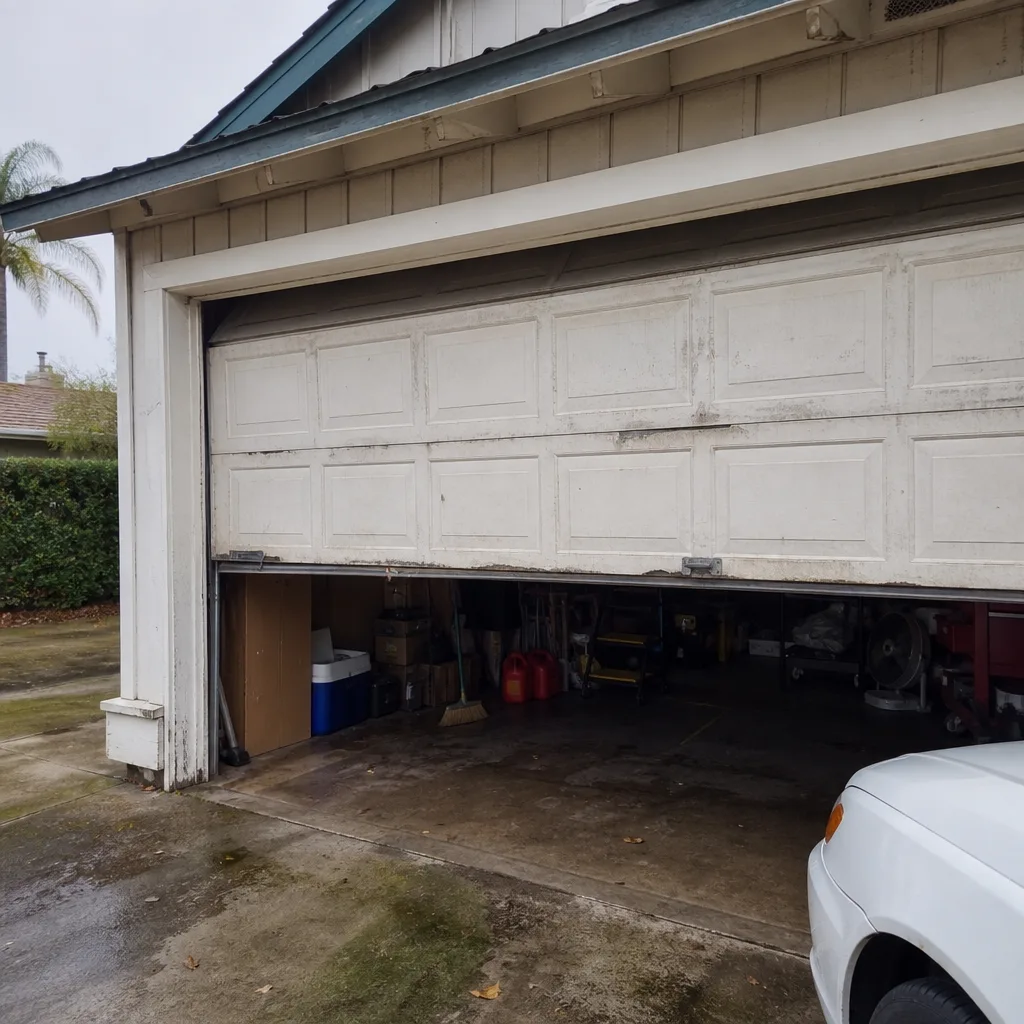 Before
 After
 Before
 After
 Before
 After
Frequently Asked Questions
Twice per year, once in March before the hot season and once in September before the rainy season. Each pass takes about 20 minutes if you follow the sequence in this guide. Elk Grove’s dust and heat cycles make seasonal checks more useful than a single annual pass.
A homeowner-performed maintenance pass costs about $15 to $25 per year in product, assuming you already own a silicone spray and have basic tools. A professional maintenance visit in Elk Grove typically runs higher because it includes a full 20-point inspection plus adjustments, but prices vary by provider and by what the tech finds. Call (844) 766-3083 for current service pricing.
Yes, light lubrication of the torsion spring is a safe homeowner task. Apply a thin line of silicone spray or white lithium grease along the top of the coil while the door is closed and the spring is not actively cycling. Do not adjust the spring, remove it, or try to close a visible gap. That’s a tension job and it belongs to a professional.
A heavy-feeling door when the opener is released is the most reliable early sign of spring fatigue. The torsion spring is not holding its rated tension. Call a garage door specialist for a spring inspection right away; continued use will accelerate wear on the opener motor and can lead to a full spring break, which often causes secondary damage to the cables and top panel. Call (844) 766-3083 for a free estimate in Elk Grove.
No. At Elk Grove Garage Door Service, the price is quoted and agreed before any work starts. The estimate you receive reflects the full scope of the repair, and if the tech finds something else during the job, the new cost is discussed and approved before any additional work happens. You’ll never see a surprise line item on the invoice.
Yes. Our trucks carry inventory for the eight brands we service: LiftMaster, Chamberlain, Genie, Clopay, Amarr, Wayne Dalton, Craftsman, and Raynor. That means the common failure parts, springs, cables, sensors, and opener components, are available the day we arrive, not ordered and rescheduled. For less common parts, we’ll give you a timeline before we leave.
The Bottom Line
A garage door maintenance routine that takes 20 minutes twice a year will catch 80 percent of the failures that turn into expensive repairs. Start with the spring and cable inspection, because that’s the high-cost failure point. Lubricate only the four surfaces that actually matter. Test the auto-reverse every season without exception. Tighten hardware and check seals before the Elk Grove dust season kicks in. And if a problem shows up that involves spring tension, cables, or bottom brackets, make the call. Doing the cheap maintenance now prevents the expensive repair later. That’s the entire point of this guide. If you’d rather have a trained set of eyes on your door, call Elk Grove Garage Door Service at (844) 766-3083. We diagnose first, recommend second, and the price is on the table before we touch a wrench.
Written by the team at Elk Grove Garage Door Service, serving Elk Grove since 2018.